P1
The time-lapse is a cinematic method for accelerating the long-term recording of motion sequences, in which the frame rate of the recording camera in relation to the playback frequency is reduced. If the recordings are then played back at normal speed, the recorded process seems to run faster. As a result, changes that are not or hardly discernible by humans in real time because of their slow nature are also visible.
Requirements
The recording of the individual film images can be done by hand for short sequences, for long-term recordings either a special separate remote trigger kit or cameras witch are already catered with time lapse software are used. But even without continuous shooting functions, time-lapse recordings are possible by extracting individual images at regular intervals from the film recordings using video editing software.
For good recordings, the lighting conditions should always be the same. This is easily possible in a controlled environment such as a photo studio, but in the open air, depending on the shooting interval, it becomes much more challenging. If shots with an interval of a few seconds are still unproblematic, since the lighting conditions do not change so quickly, it can come with recording intervals of several hours to days to strong brightness fluctuations due to changing weather conditions.
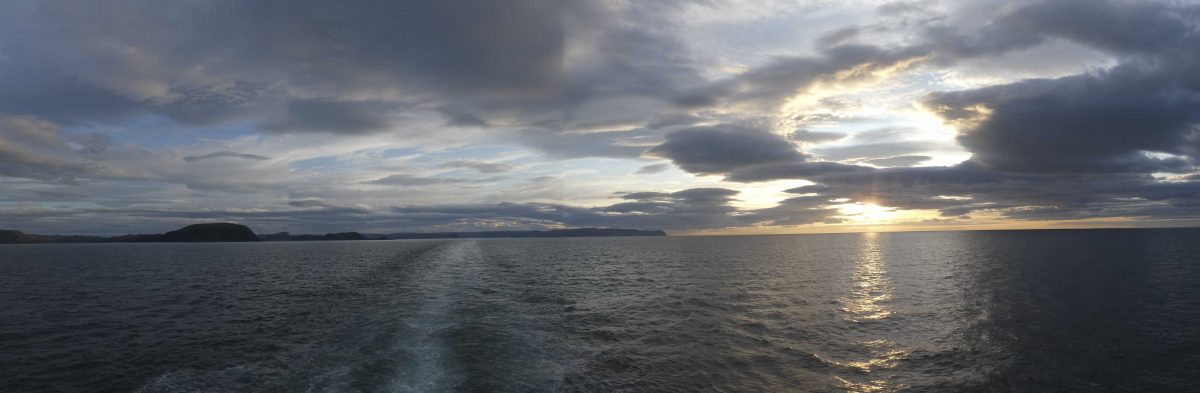
The right time-laps motif
The best way to think about it in advance, which image composition you want to implement for your time-lapse video. Motifs that move slowly are particularly suitable for time-lapse shots.
So good ideas for a time-lapse video could be as followed:
– Sunsets / Sunrises,
– Clouds moving across the sky,
– Wandering shadows,
– Mist clouds in the landscape,
– Water, e.g. Stream, waterfall, ocean surf,
– Rising flowers,
– Melting ice,
– Passers,
– Road traffic,
– Snowfall in winter…
Calculation
To find out all the settings needed to create a time-lapse recording, the following formula is suitable:
z = f x r = a/i
with
z = number of images;
f = film length (in sec);
r = frame rate;
a = recording time (in sec);
i = interval (eg: take a picture every 2 seconds)
Example:
A camera is running at 12 frames per second. The projection of the movie with the normal frame rate (for cinema) of 24 frames per second results in a double time lapse.
Is your subject moving very slowly or a bit faster? Depending on that, you should choose a different time interval. These guidelines will help you to choose the interval frequency:
Passing clouds: every 2 – 10 seconds
Sunrise / Sunset: about every 5 – 15 seconds
Wandering Shadows: Approximately every 10 – 60 seconds
Rising flowers: every 30 – 60 seconds
Passers-by: every 1 – 5 seconds
Exaple
Some breathtaking views of Iceland in stunning 8K, shot by Nikon Ambassador Lucas Gilman with the Nikon D850.
own time-lapse films shot at richmond
Technical settings for time-lapse at Richmond Bridge:
Panasonic Lumix DZ-FZ82, ISO 100, shutter speed 1/500sec, f/8
Z = 600
f = 4 sec
r = 25/sec
a = 8 min
i = 1pic/5sec
Technical settings for time-lapse at Richmond Station:
Panasonic Lumix DZ-FZ82, ISO 200, shutter speed 1/30sec, f/8
Z = 600
f = 17 sec
r = 25/sec
a = 17 min
i = 1pic/1sec

P1
LikeLike