PURPOSE:
Investigation and use of photographic media, techniques and technology.
Knowledge of characteristics and properties of photographic materials and
Understanding own use of photographic media, techniques and technology.
Investigation and use of photographic media, techniques and technology.
Knowledge of characteristics and properties of photographic materials and
Understanding own use of photographic media, techniques and technology.
Review of own work in terms of the visual impact of final pieces, use of techniques and other relevant aspects such as adherence to health and safety guidlines.
This project will provide an opportunity to gain valuable insights into photographic media and techniques, and form conclusions about own preferences in photography.
This project should consits of a series of experiments in a photographic studio and location environments.
It will provide opportunity to work with lightning schemes to represent the choosen subject in a best possible way bearing in mind of the still life set-up, carefully illumination of the subject/objects.
P1 – Investigate photographic media, techniques and technology;
P2 – Use photographic media, techniques and technology safely;
P3 – List the characteristics and properties of photographic materials;
P4 – Dsicuss own use of photographic media, techniques and technology;
M1 – Investigate effectively, a diverse range of photographic media, techniques and technology;
M2 – Use coherently, a diverse range of photographic media, techniques and technology safely;
M3 – Describe the characteristics and properties of a diverse range of photographic materials;
M4 – Analyse own use of photographic media, techniques and technology;
D1 – Investigate independently, a comprehensive range of photographic media, techniques and technology;
D2 – Use innovatively, a comprehensive range of photographic media, techniques and technology safely;
D3 – Describe in detail with correct terminology, the characteristics and properties of a comprehensive range of photographic materials;
D4 – Evaluate own use of photographic media, techniques and technology.

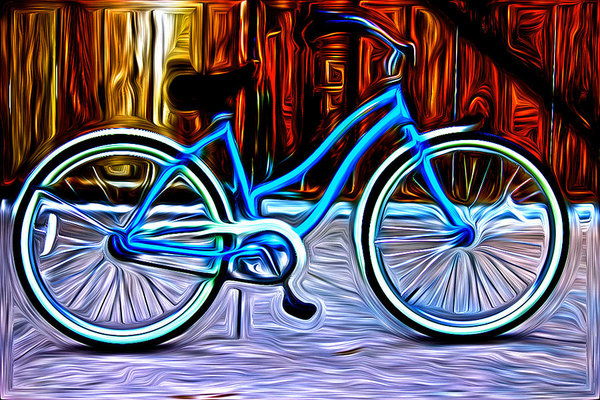
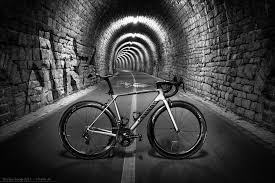
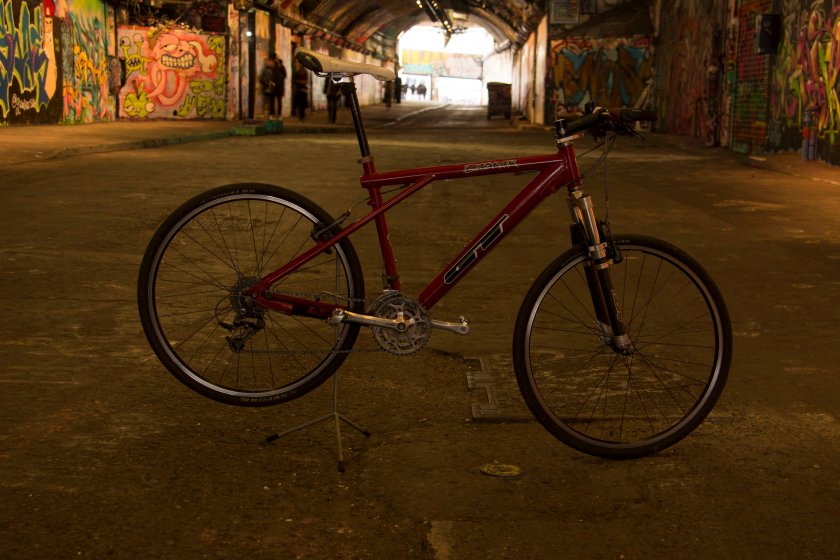
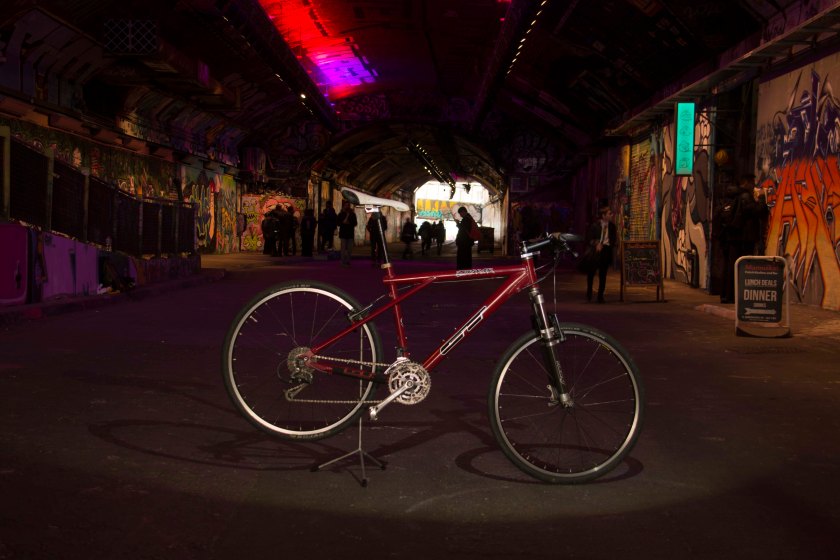
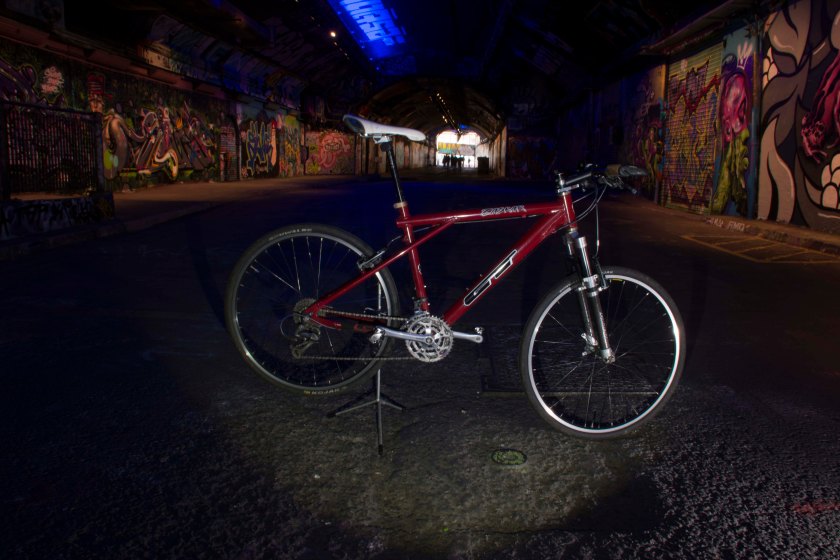
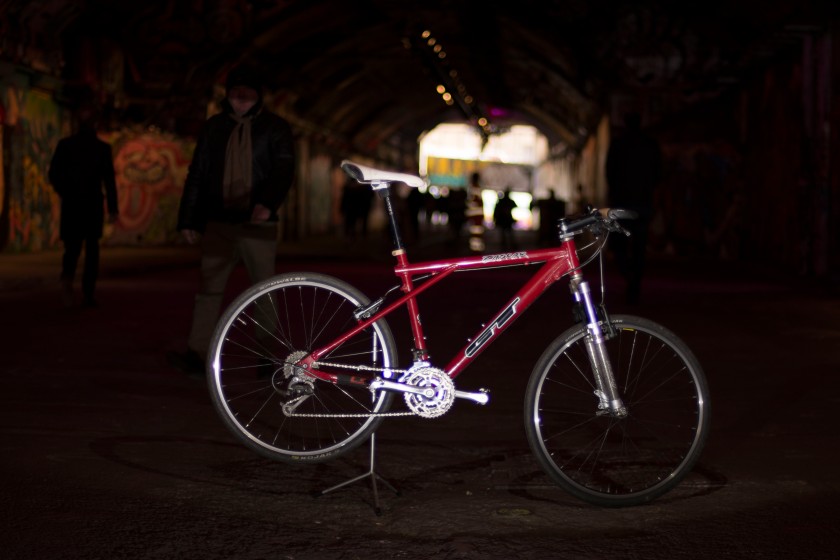
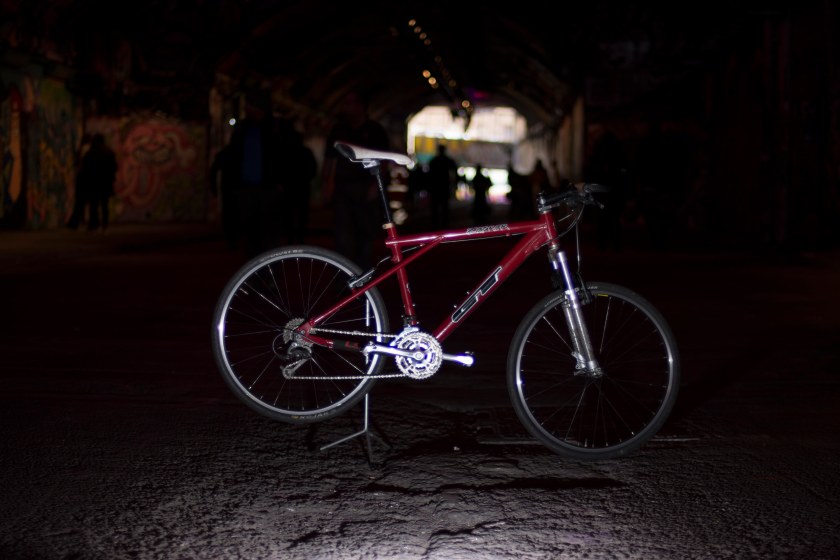
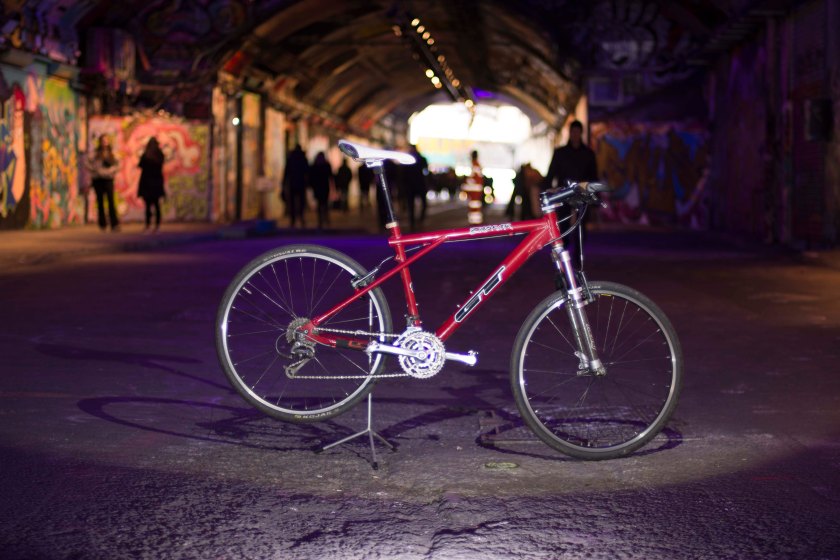
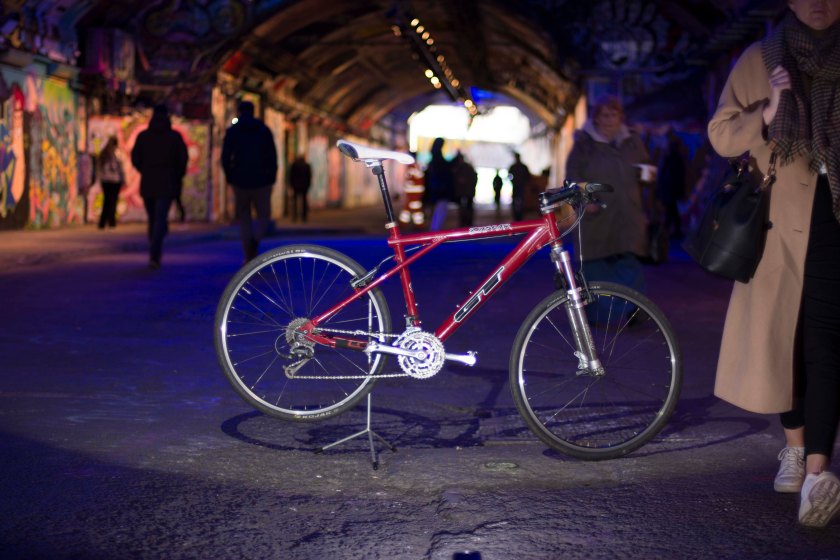
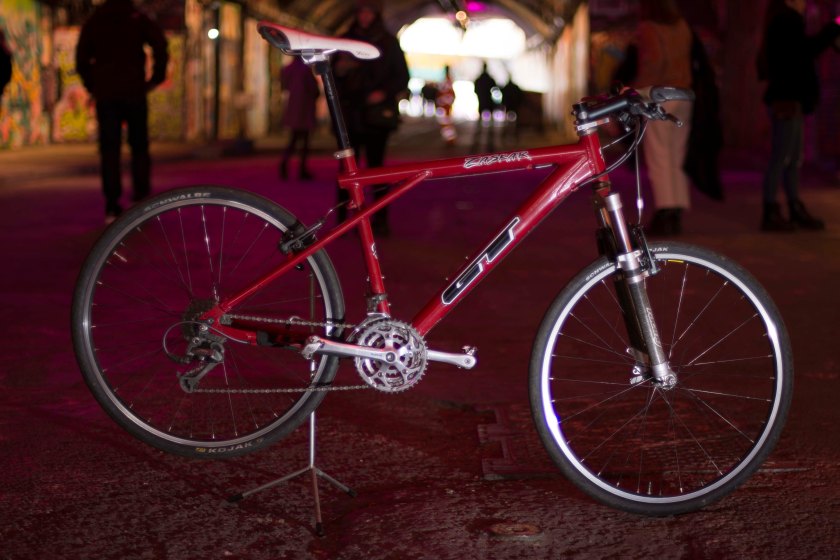
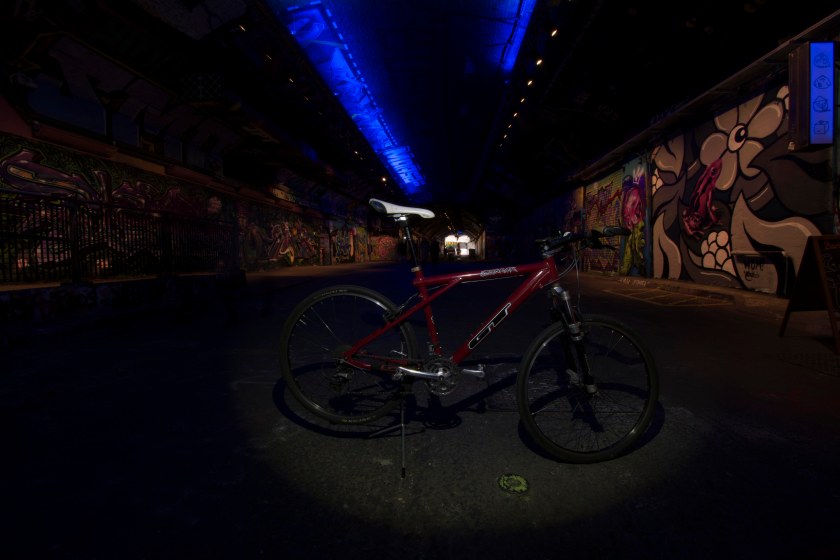
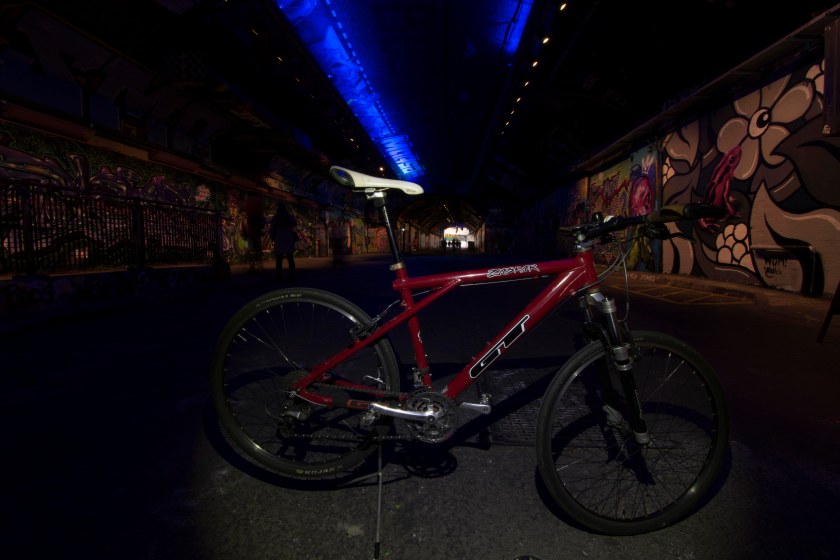
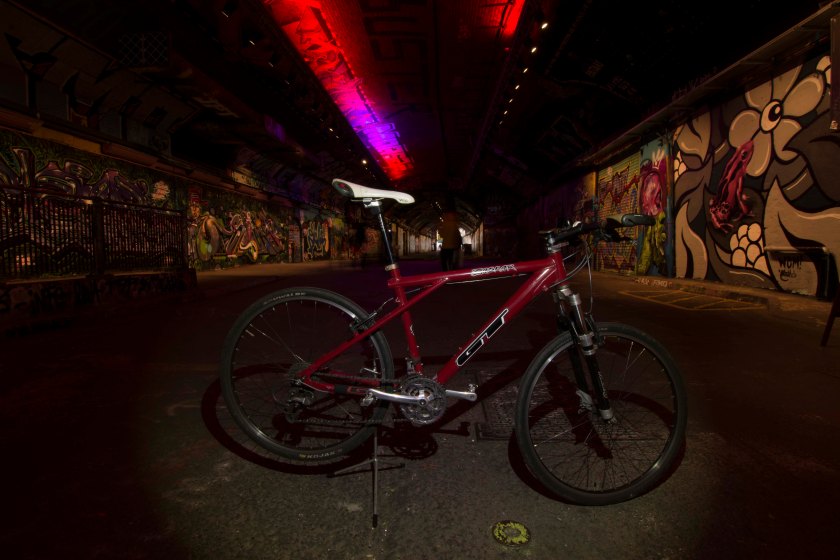
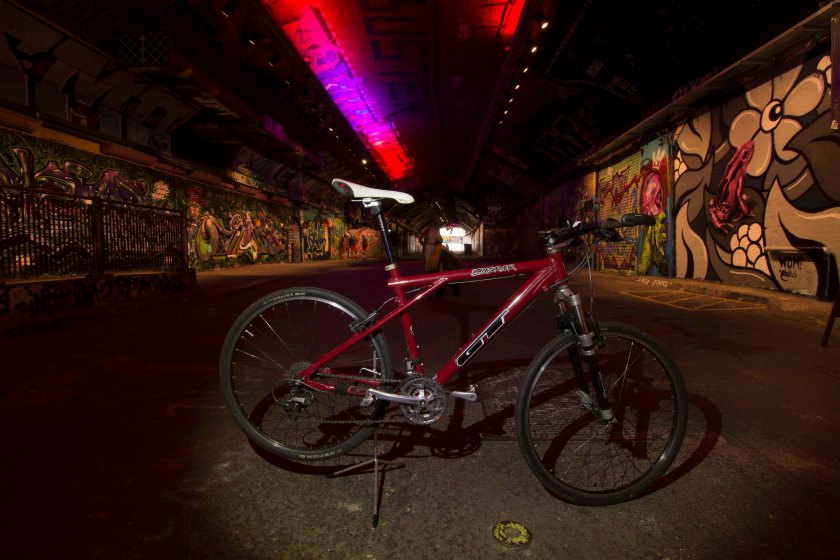
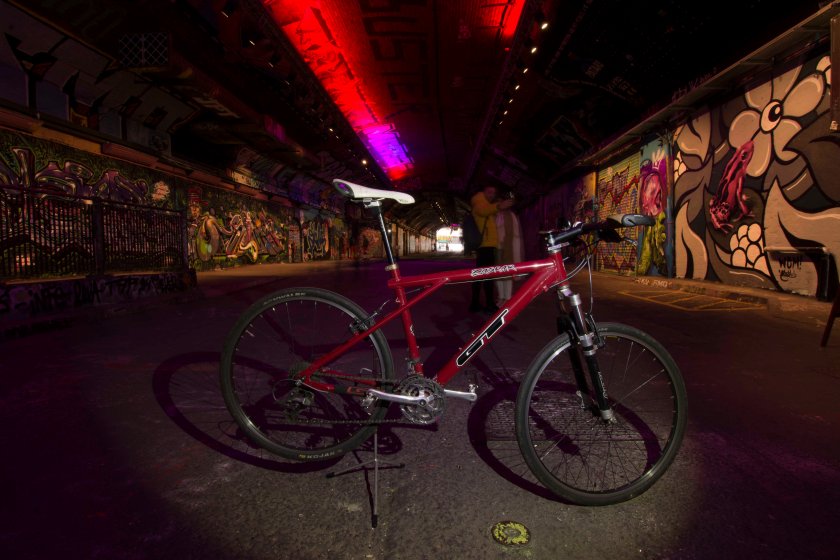
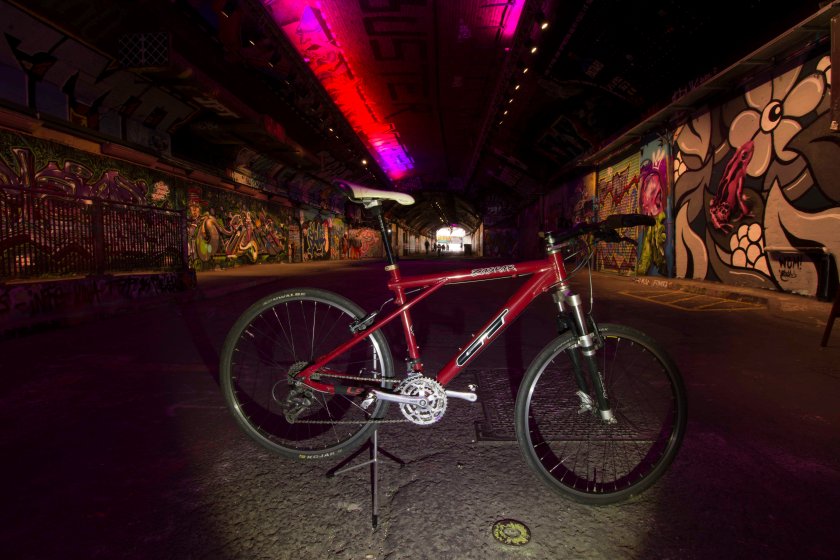
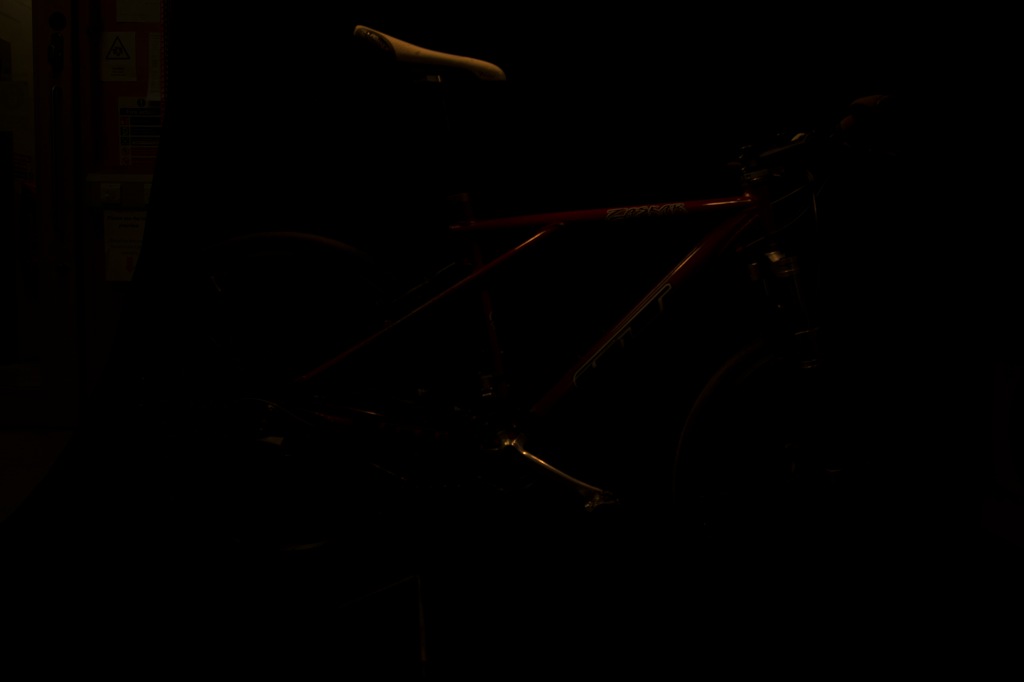
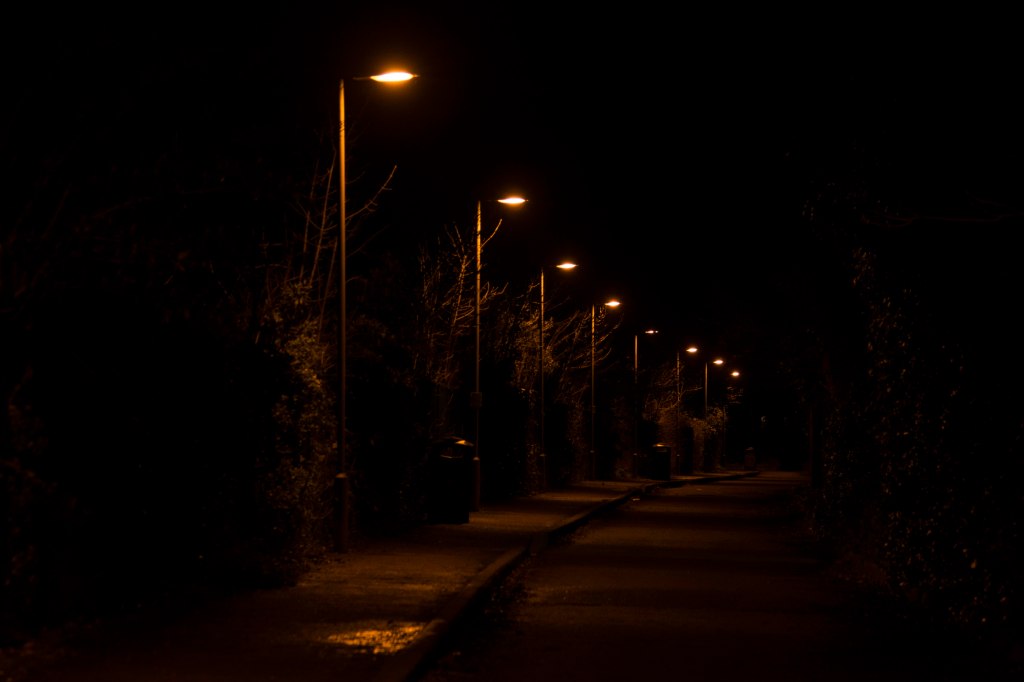
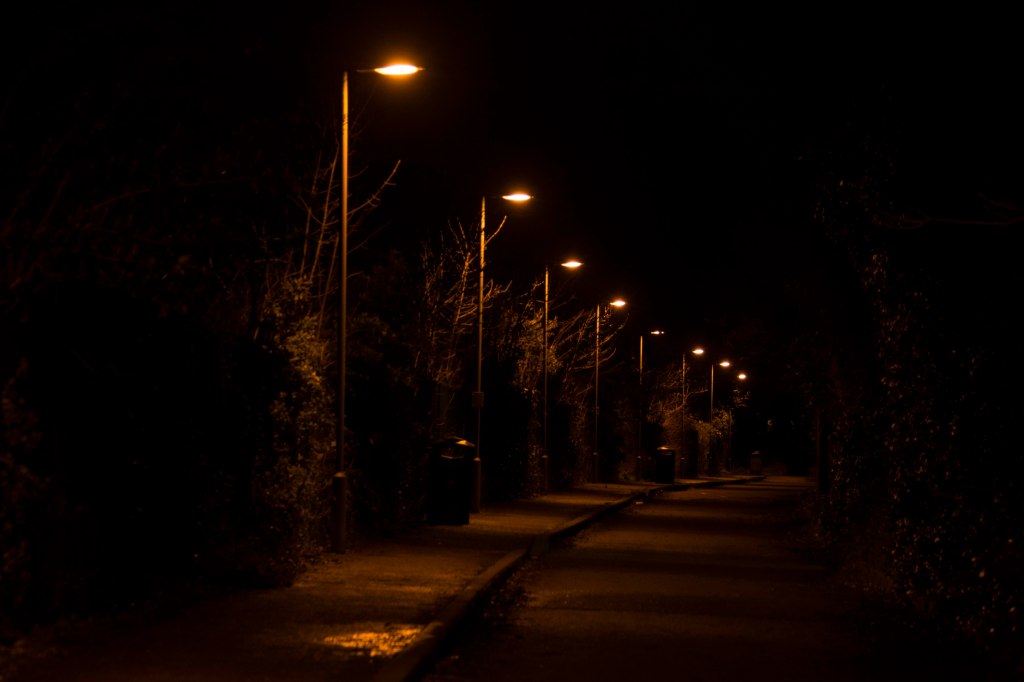
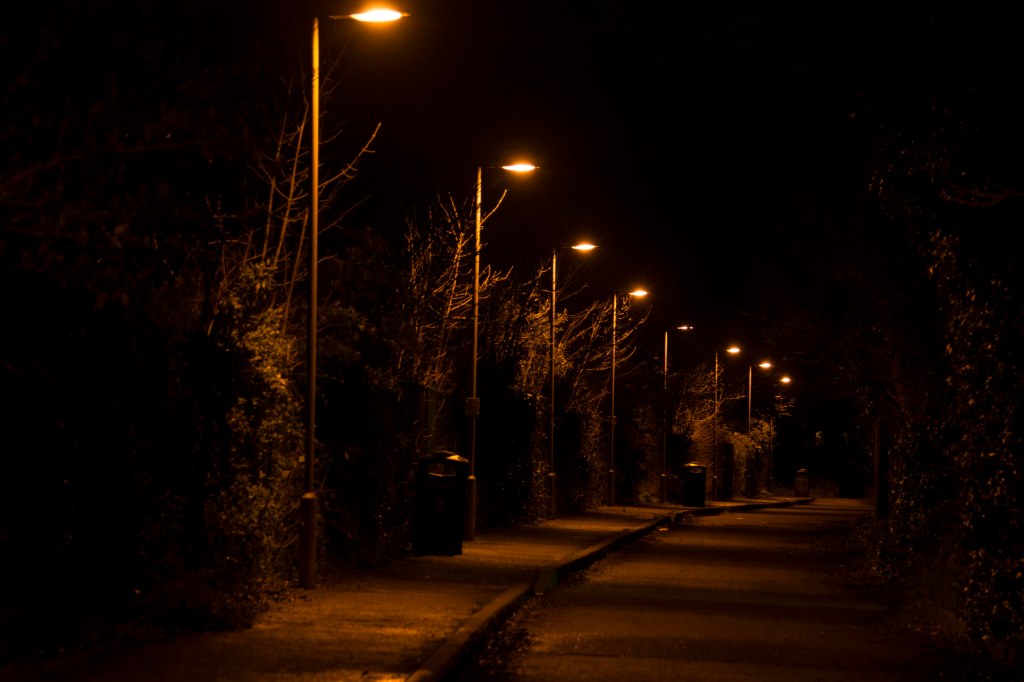
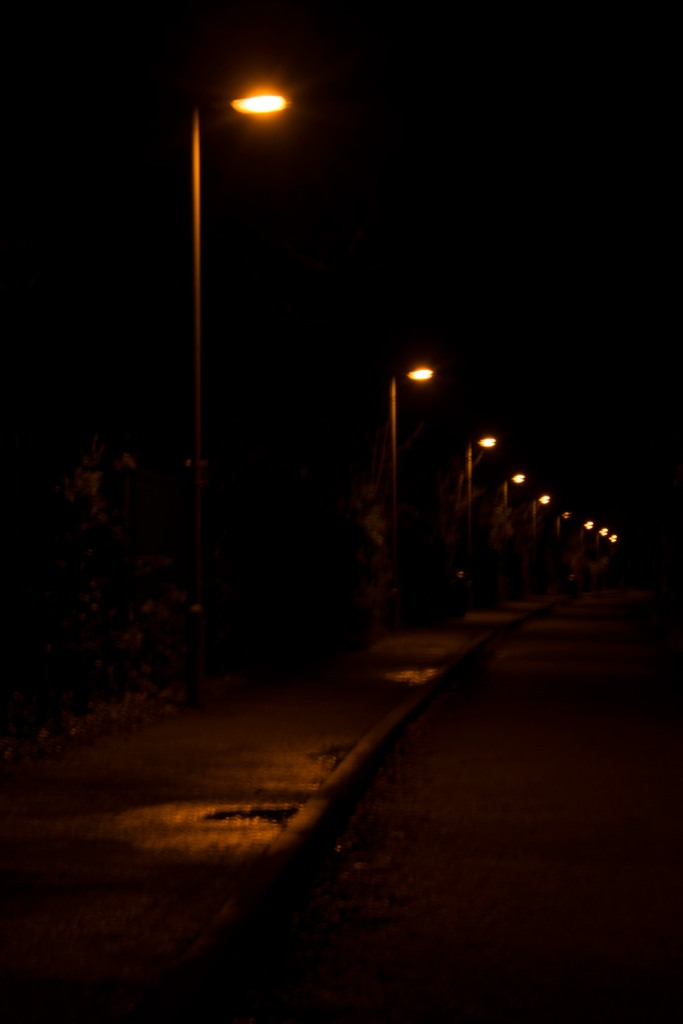
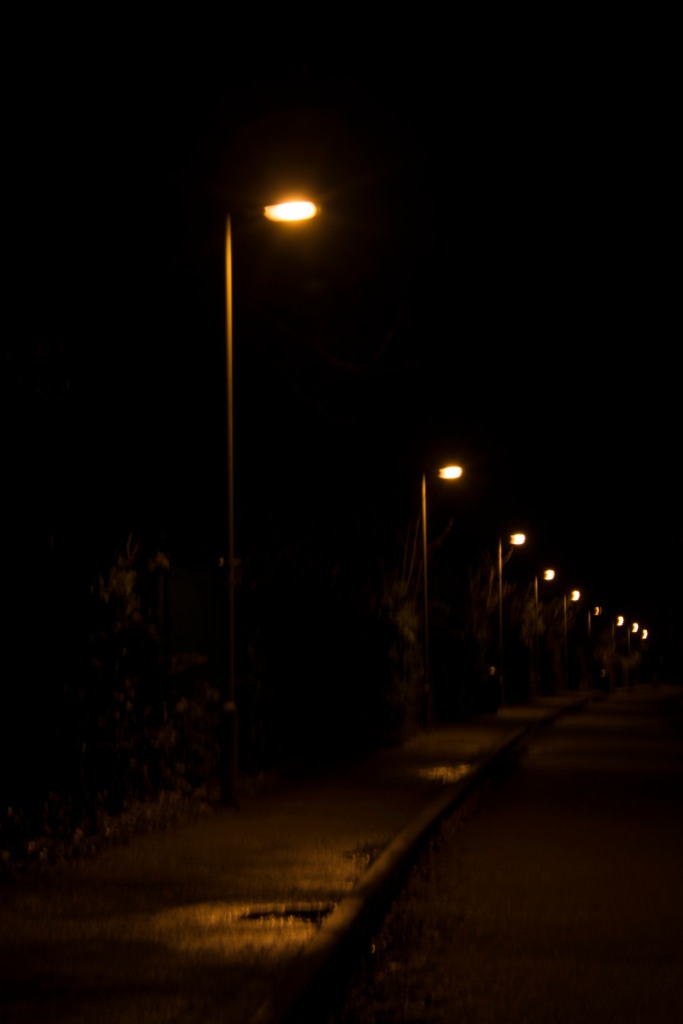
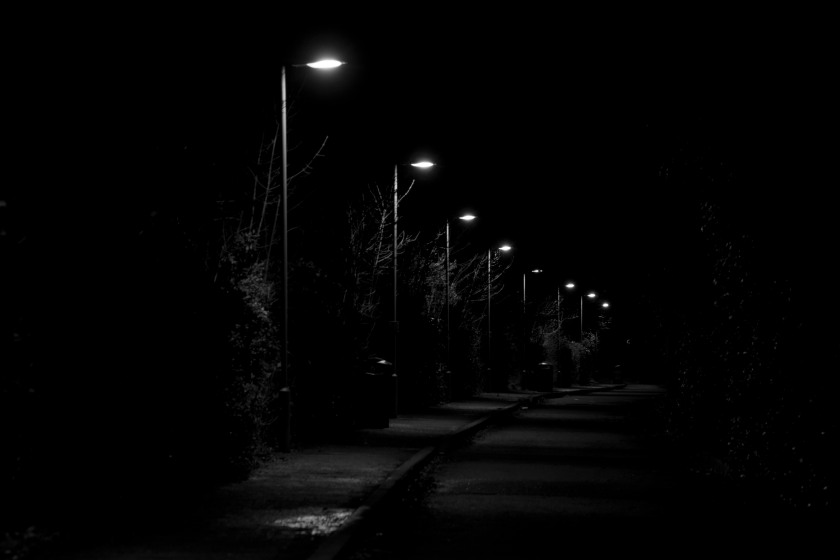
First of all I chose that particular location because, on the one hand, I was looking to photograph my bike within a dark environment of a tunnel with very few ambient light. The Leake Street Arches are famous for the amazing arches with their constantly newly created graffitis. Sometimes you can even watch artists creating their graffiti on site. The tunnel is considered a magnet for the public because it is free of charge, the arches are illuminated in colorful lighting, regular events are held and culinar specialities are offered in trendy bars and restaurants inside the tunnel.


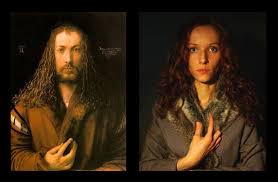
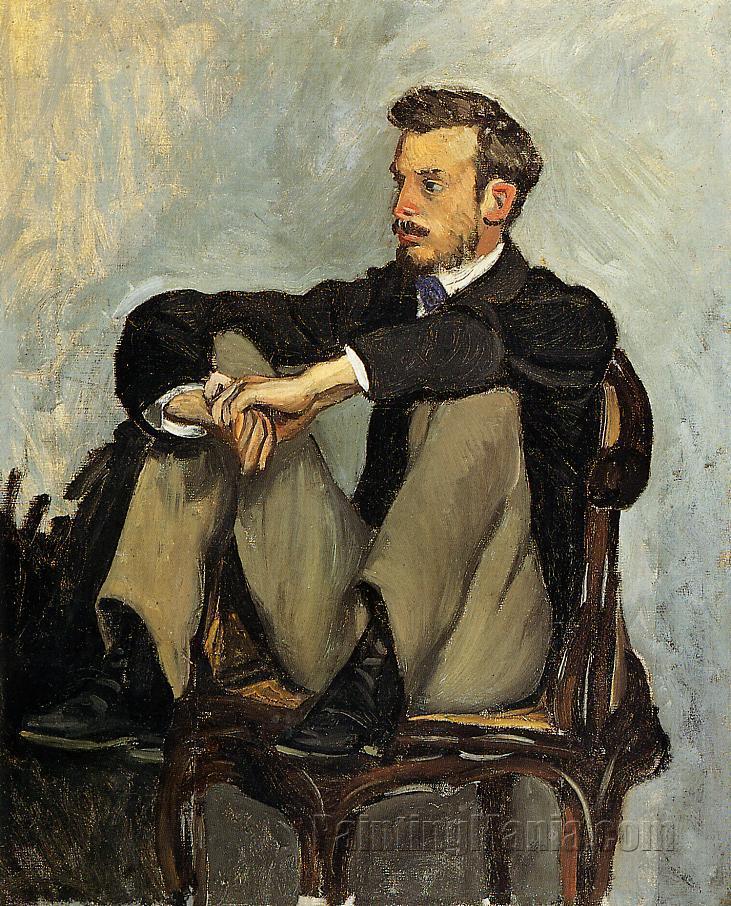
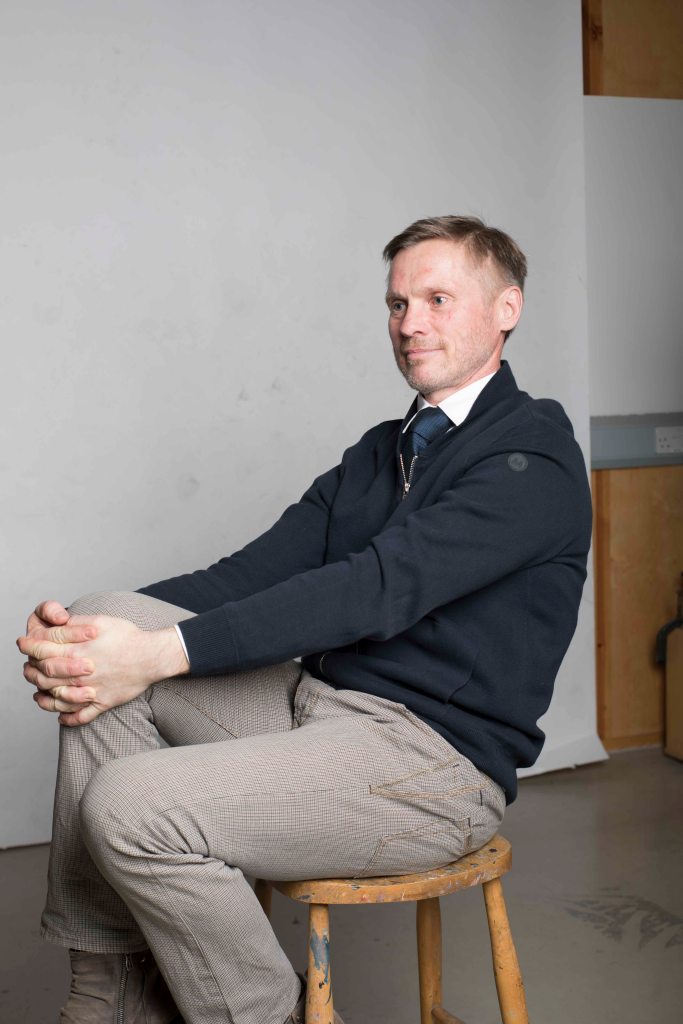
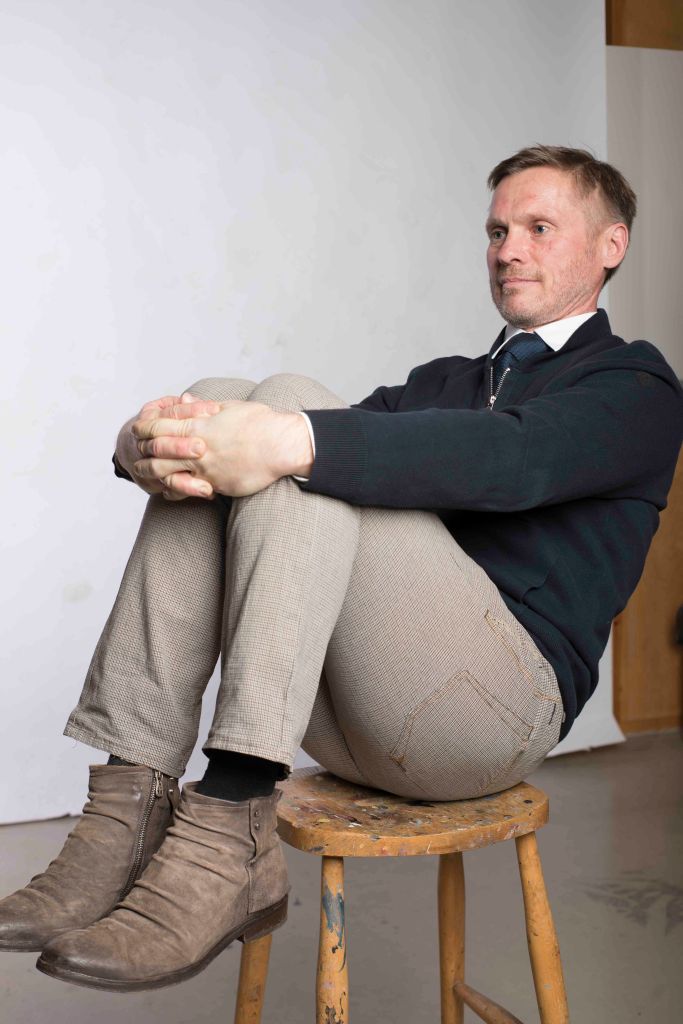
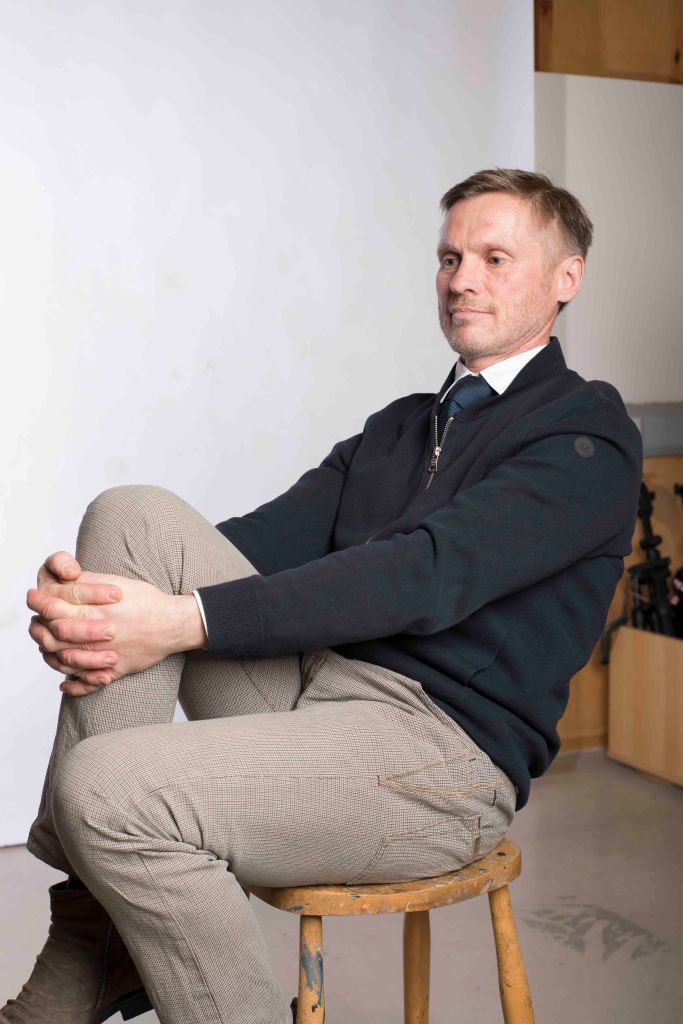
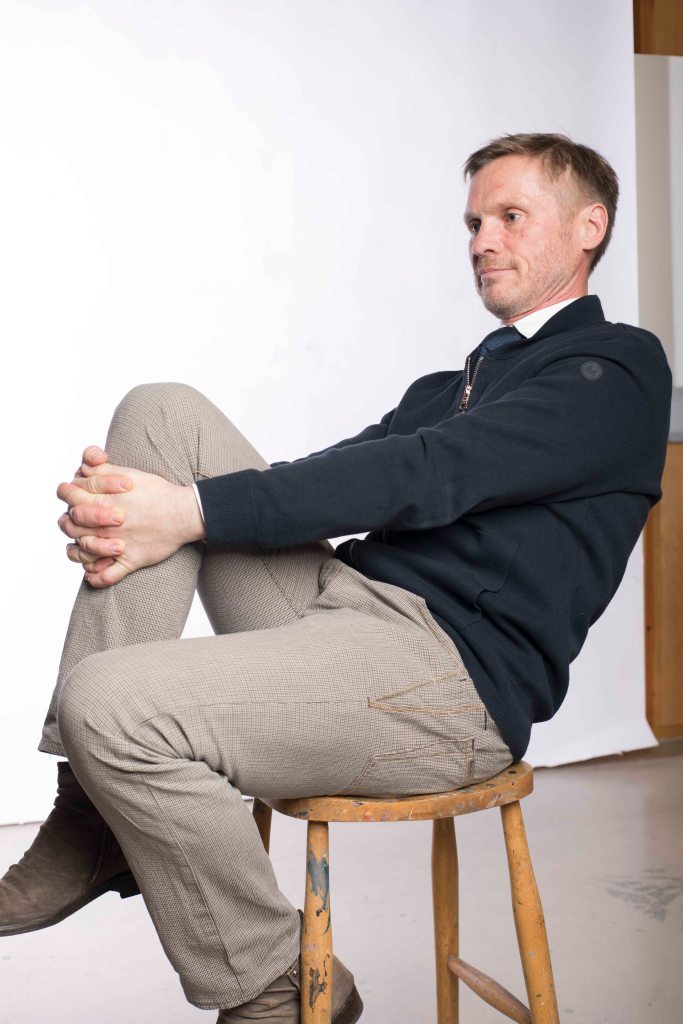
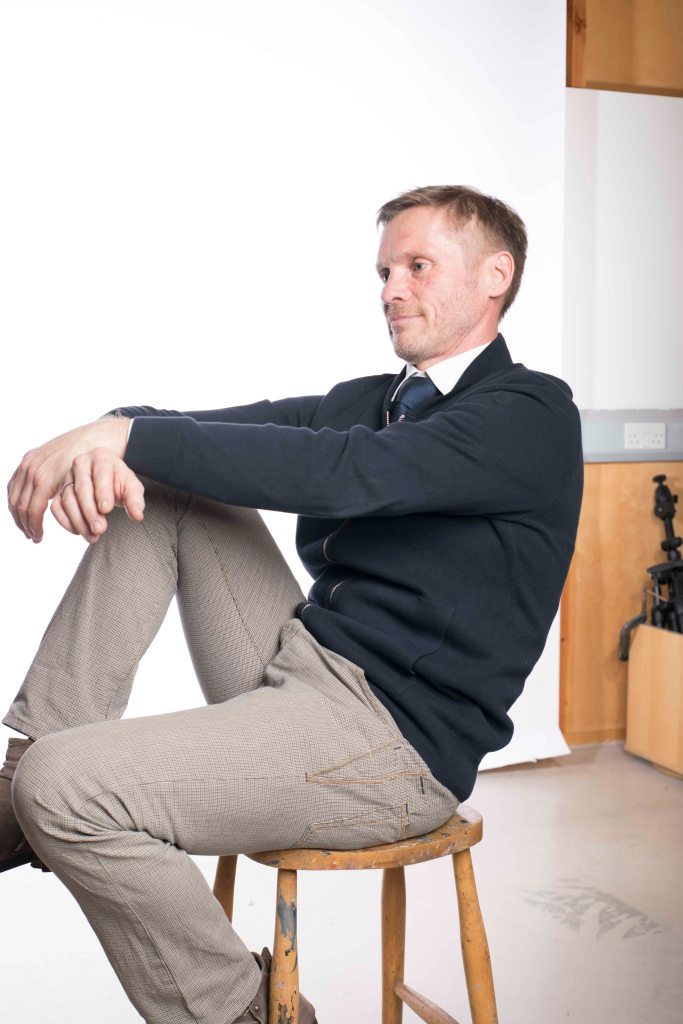
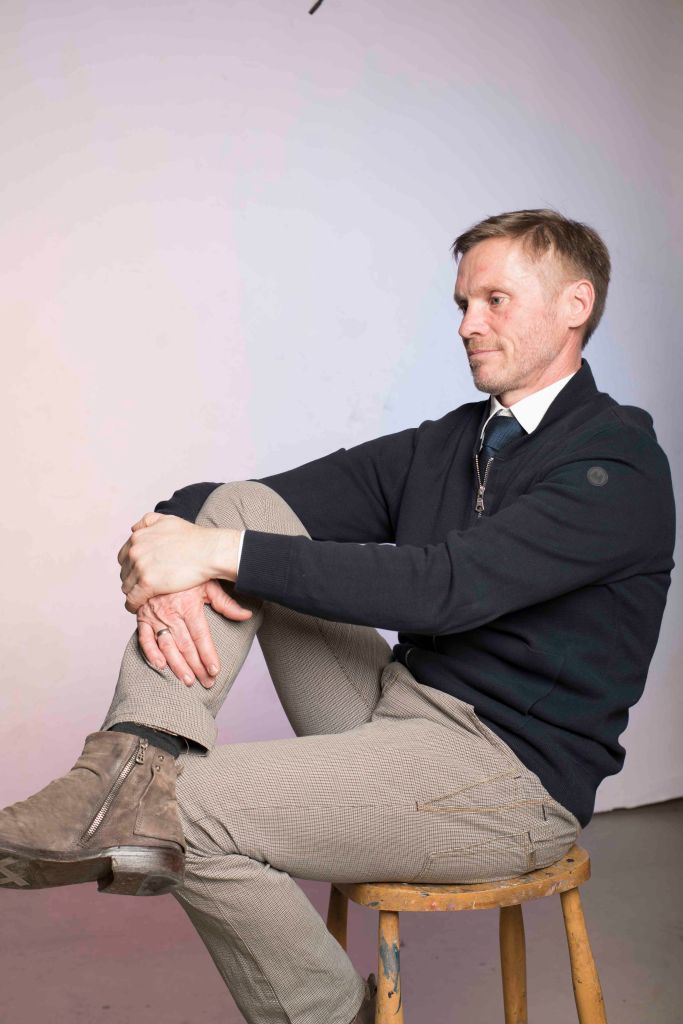
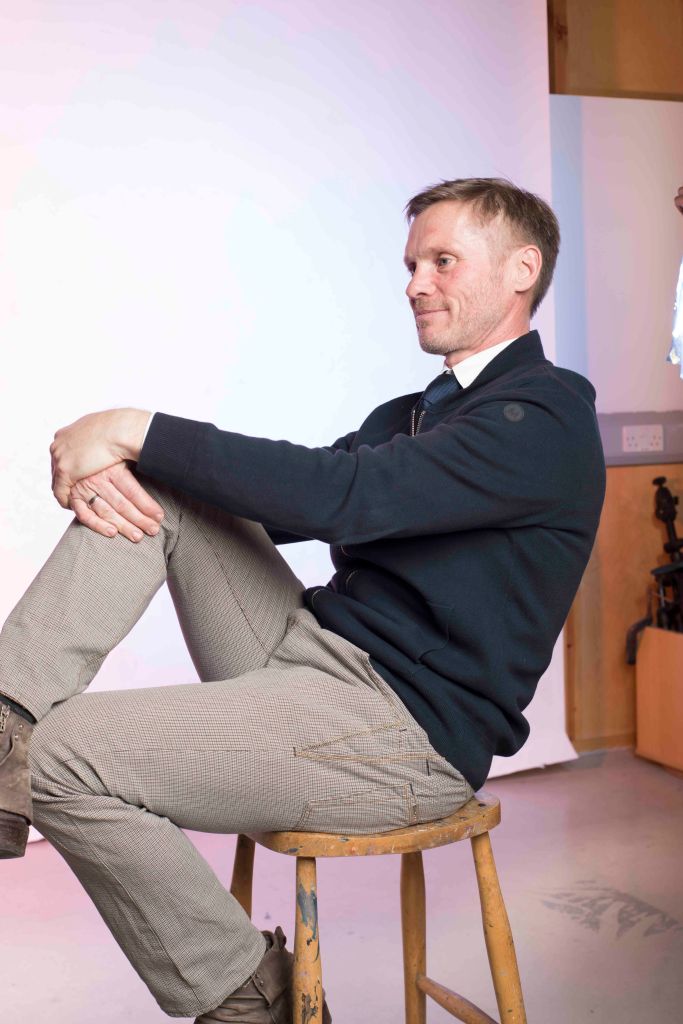
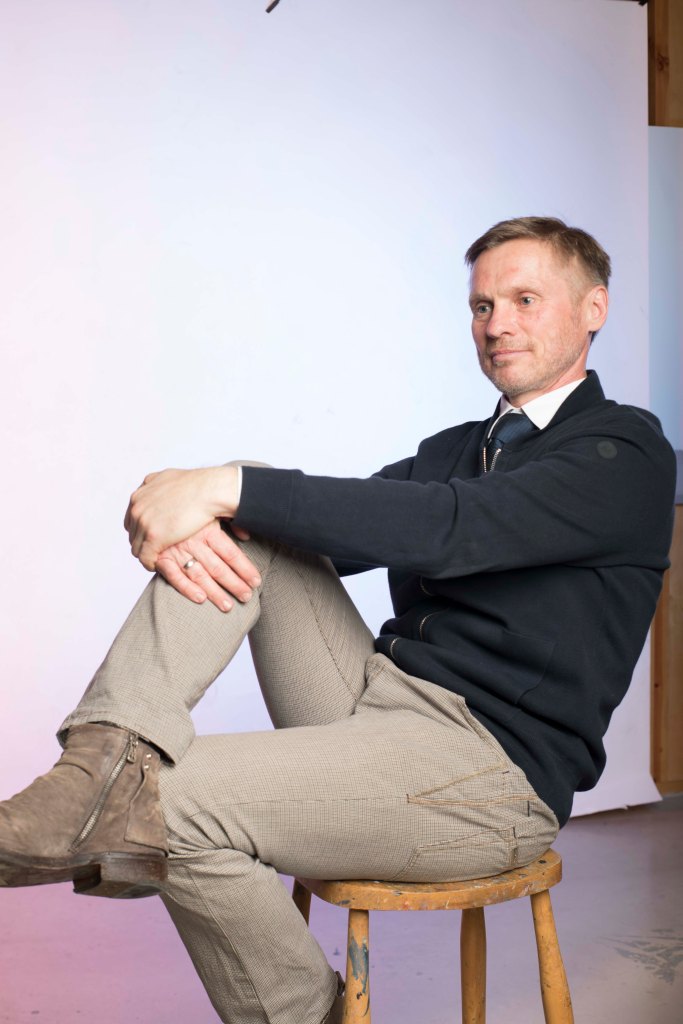
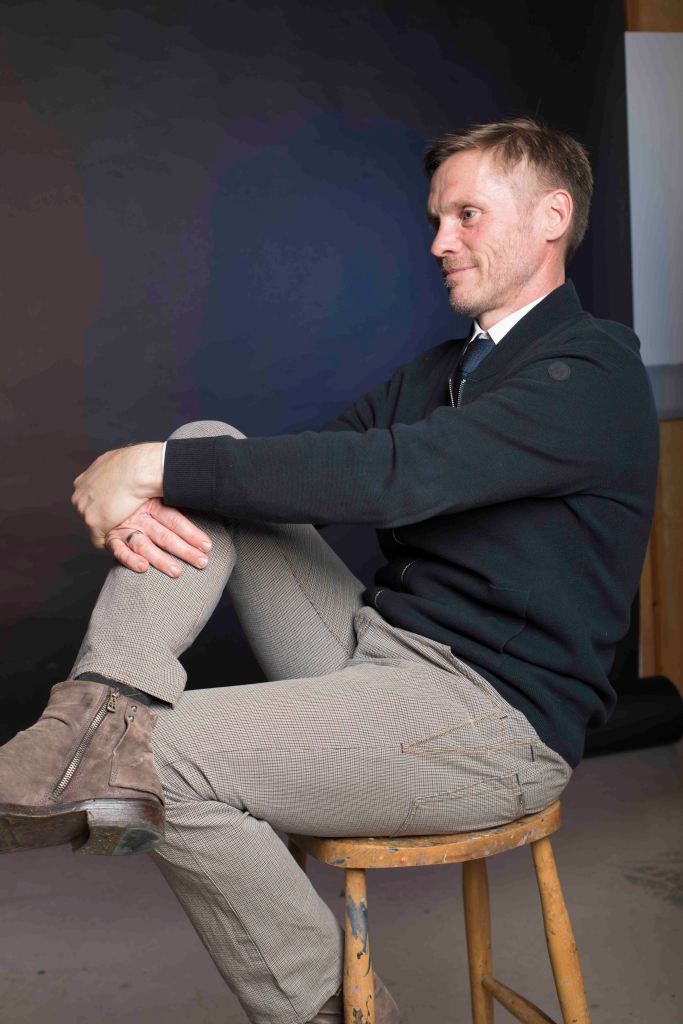
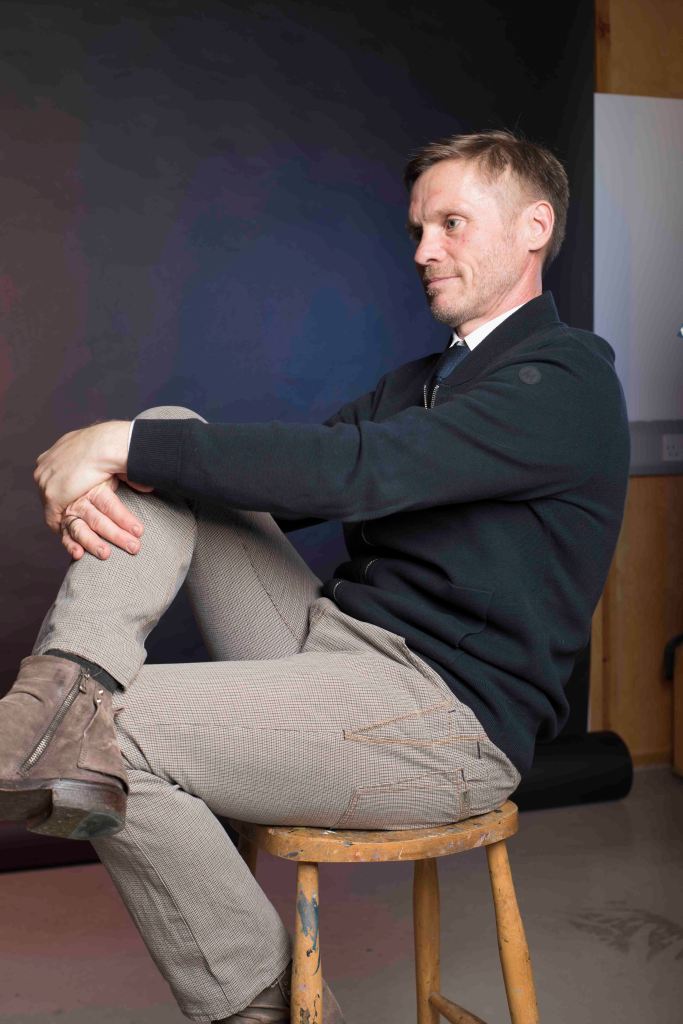
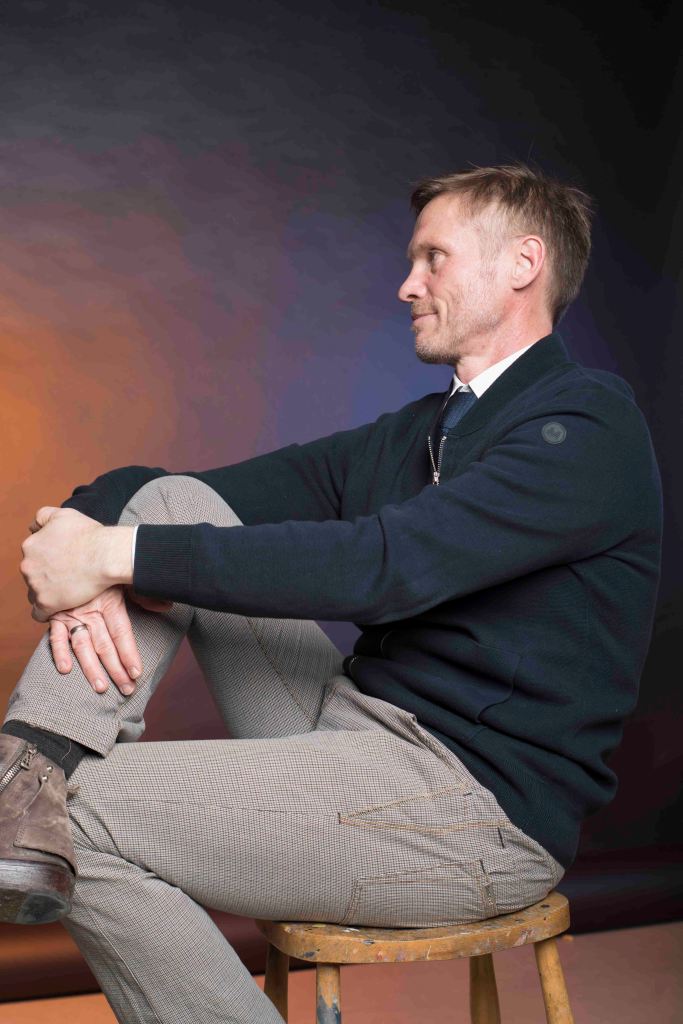
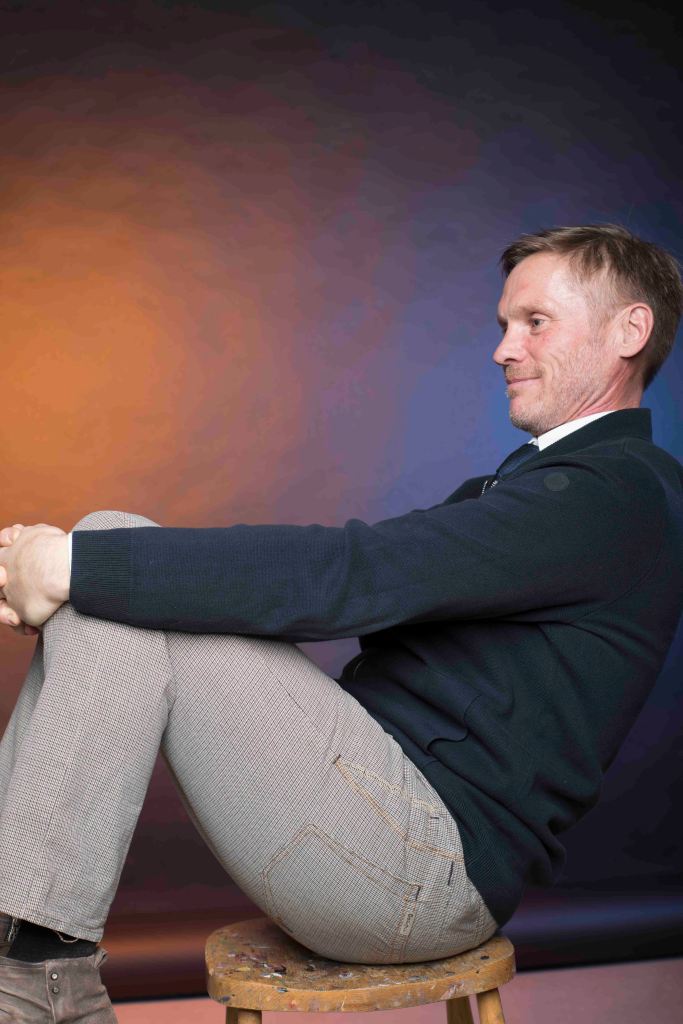
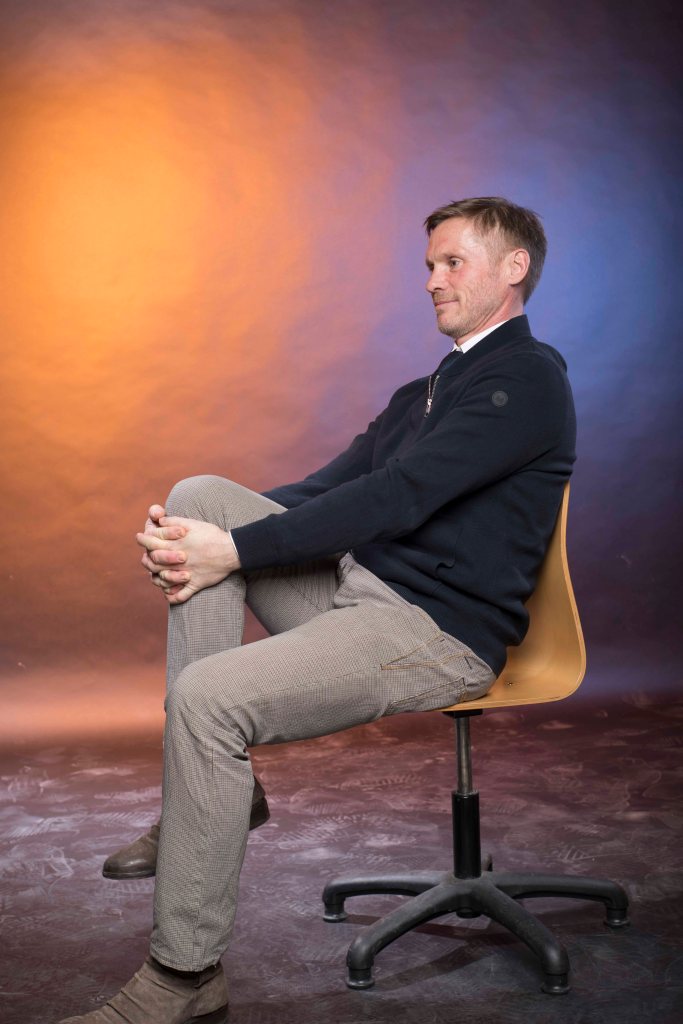
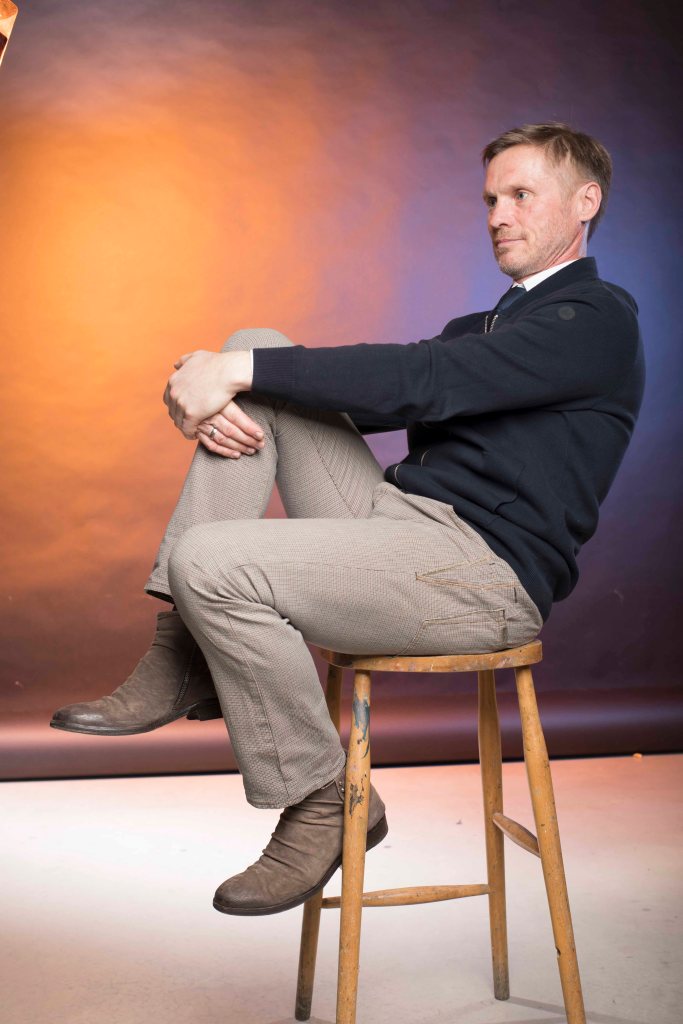
1841-70, He was a French painter and one of the early Impressionists. As a student in Gleyres studio in Paris (1862), he made friends with Monet, Renoir and Sisley, with whom he painted outdoors in Fontainebleau and Normandy. However, he was more of a painter of people than of landscapes.
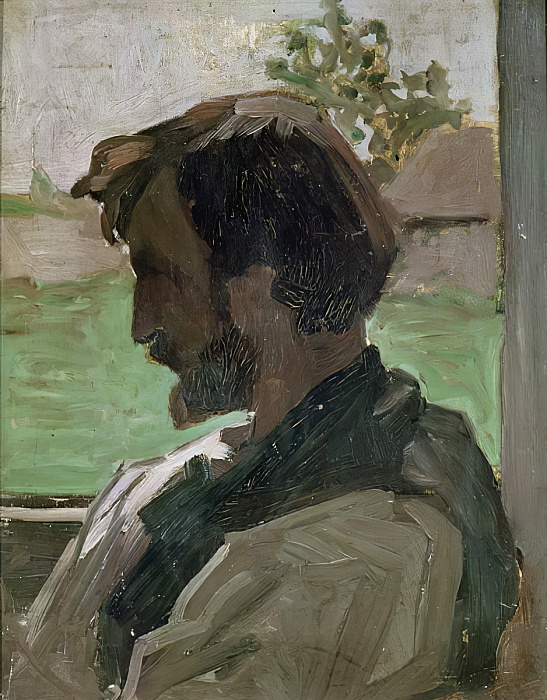
Renoir reciprocated by painting a picture of his friend in their studio.
In the summer Bazille moved into a studio in Paris and shared it with Renoir. Toward the end of 1867, Bazille painted his friend in a nonchalant attitude with his feet up on the seat of his chair. The painting remained in Renoir’s possession for the rest of his life.
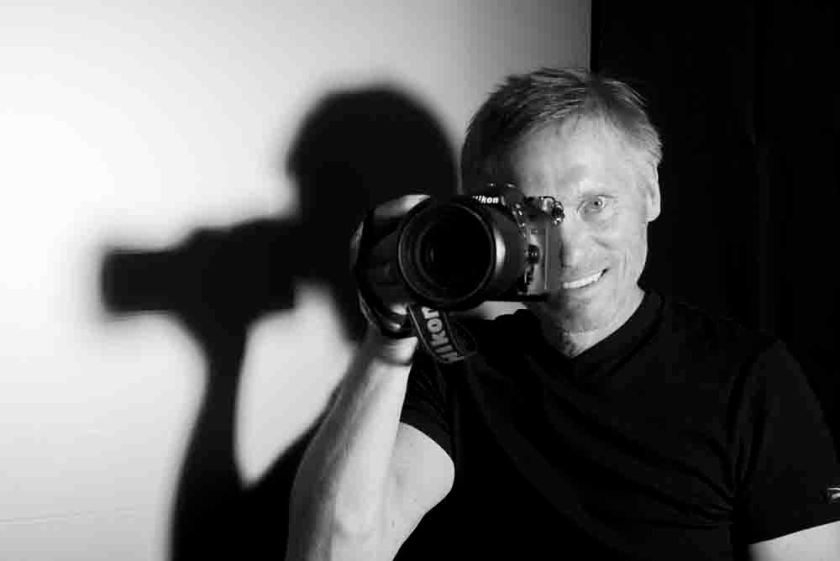
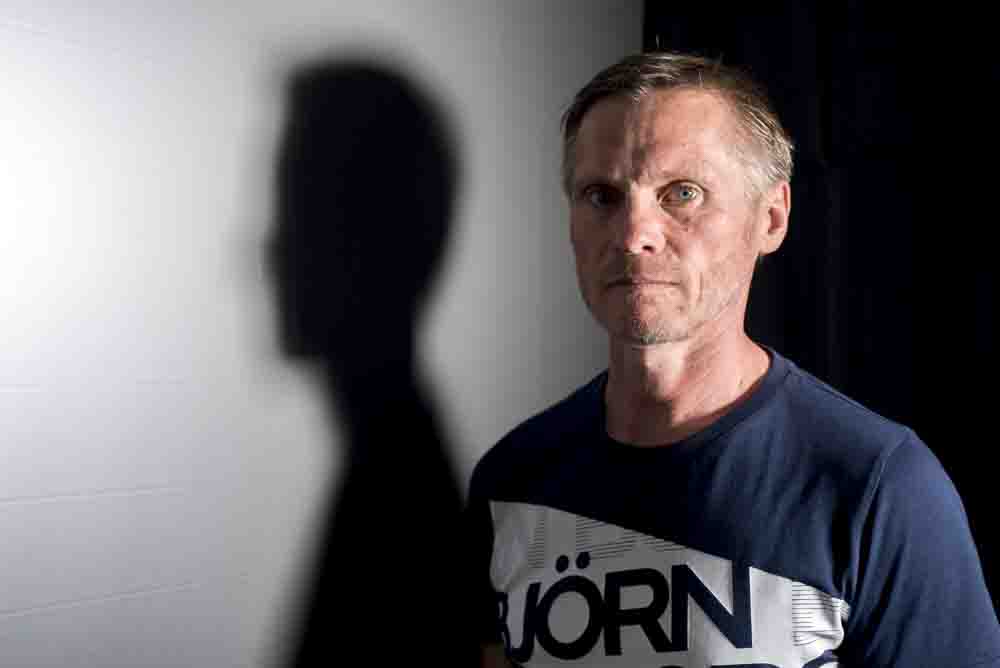
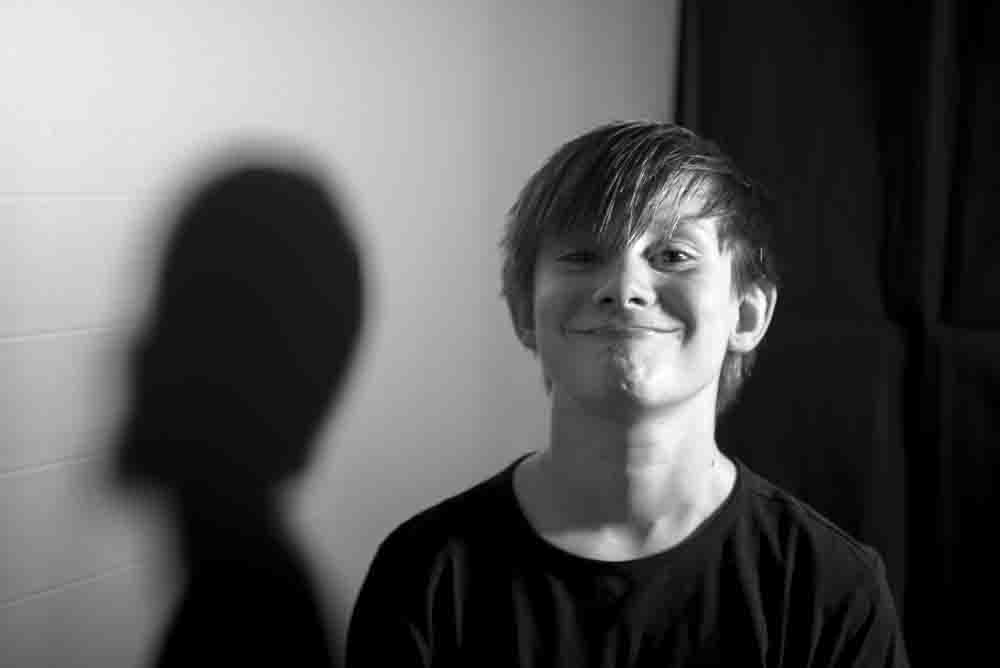
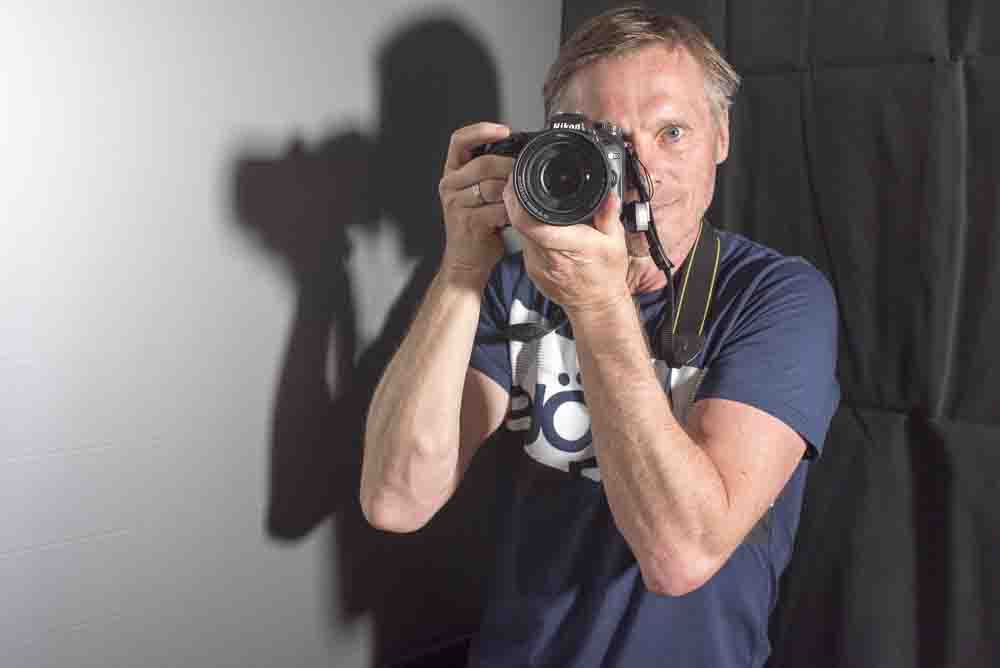
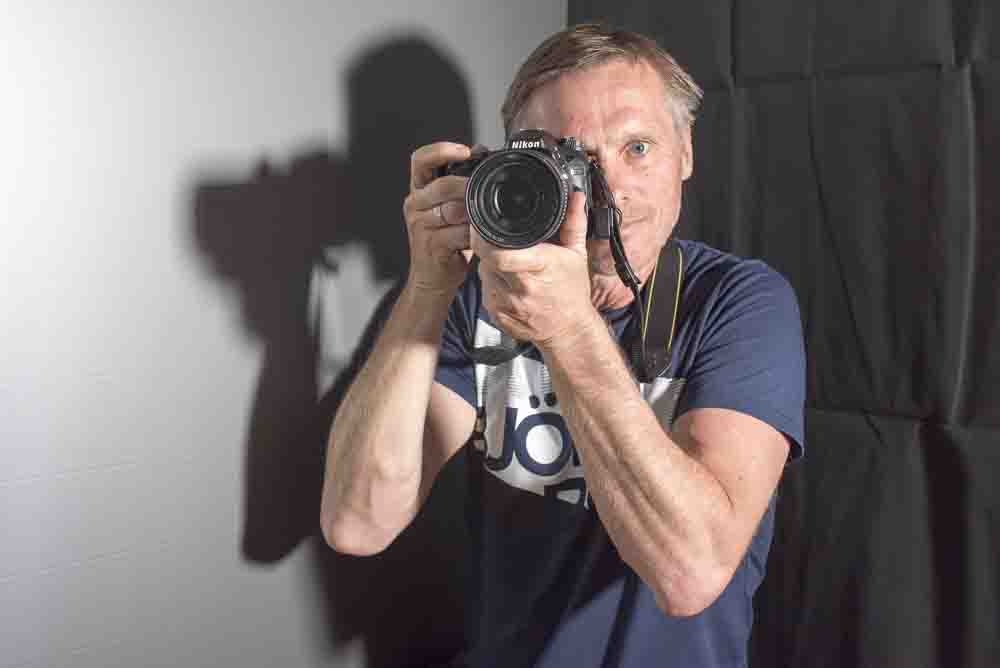
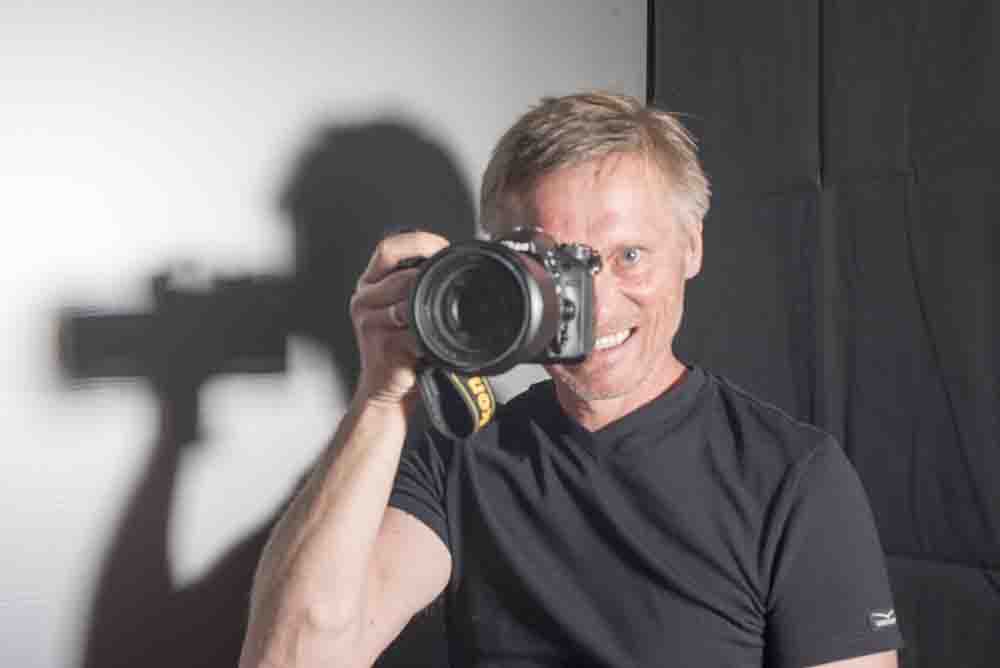
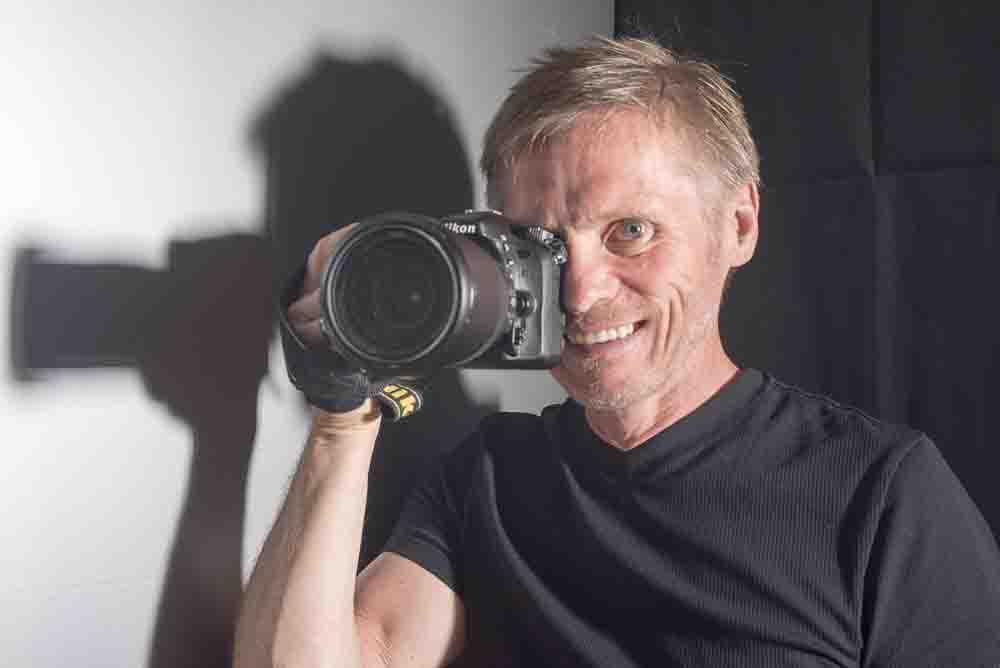
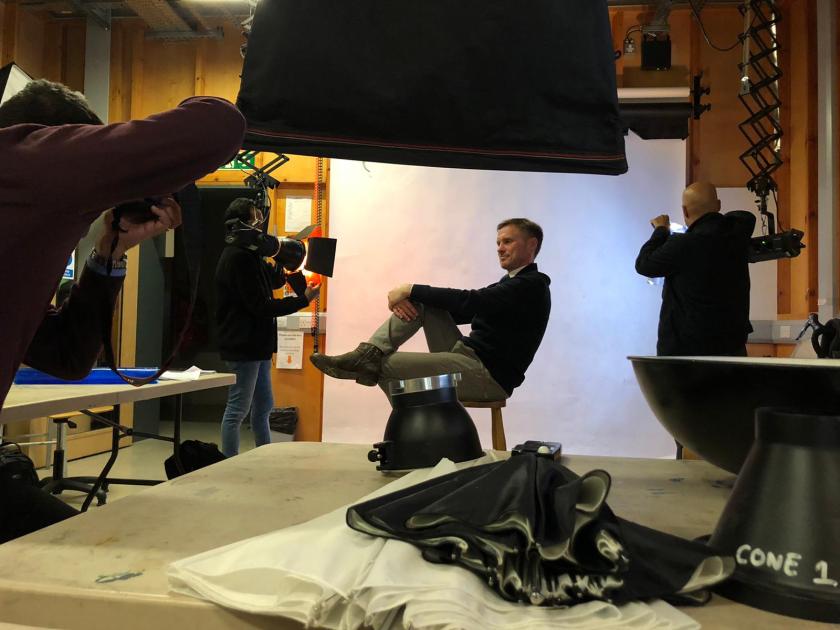
Set-up at our class room using backdrop, two studio lights for the background and one studio light with soft box.
At this stage I would like to thank the team of our asessor and class mates for your support in stetting up the studio, adjusting the lights and taking pictures.
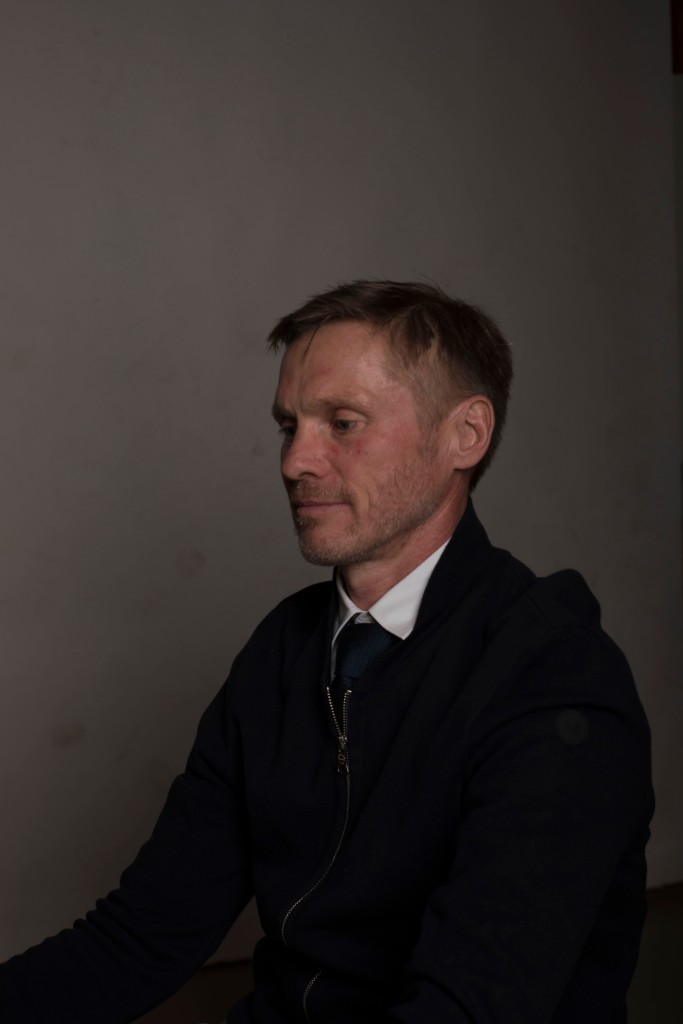
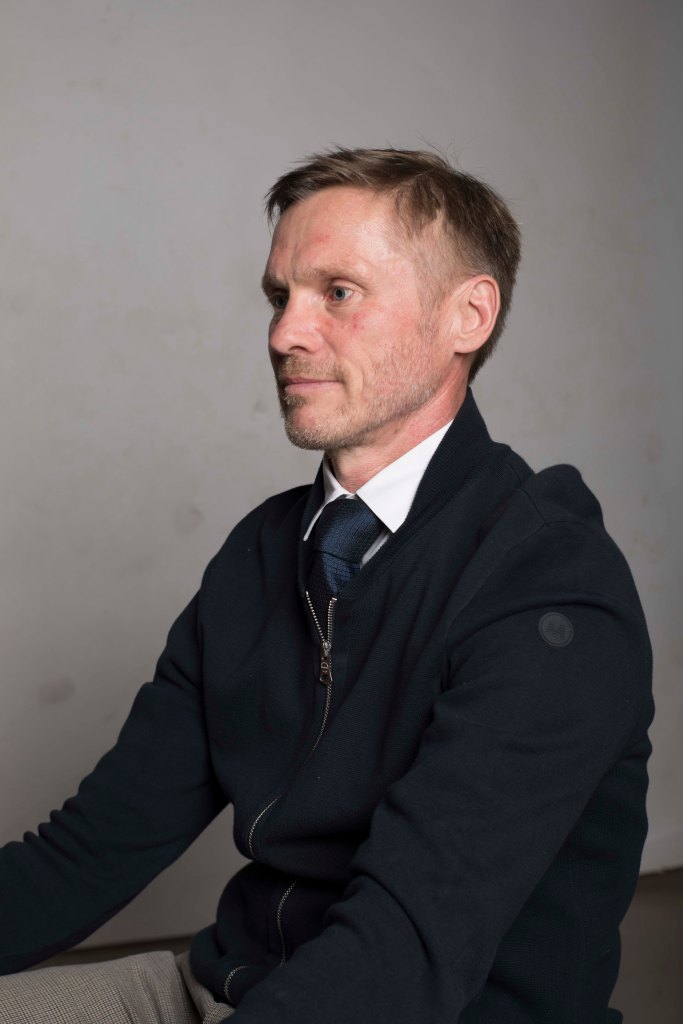
2. getting a white background by the use of two studio lights
3. Trying to create a colored background like the painting

4.
review own work in terms of
visual impact of final pieces
use of techniques
other relevant aspects such as adherence to health and safety guidelines
project should provide an opportunity to gain valuable insights into
phoptgraphic media and techniques
and form conclusions about own preferences in photography


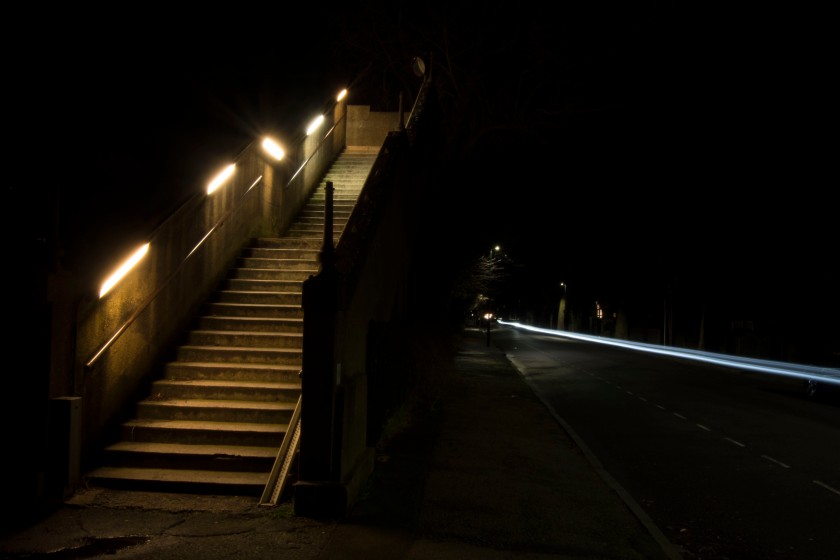
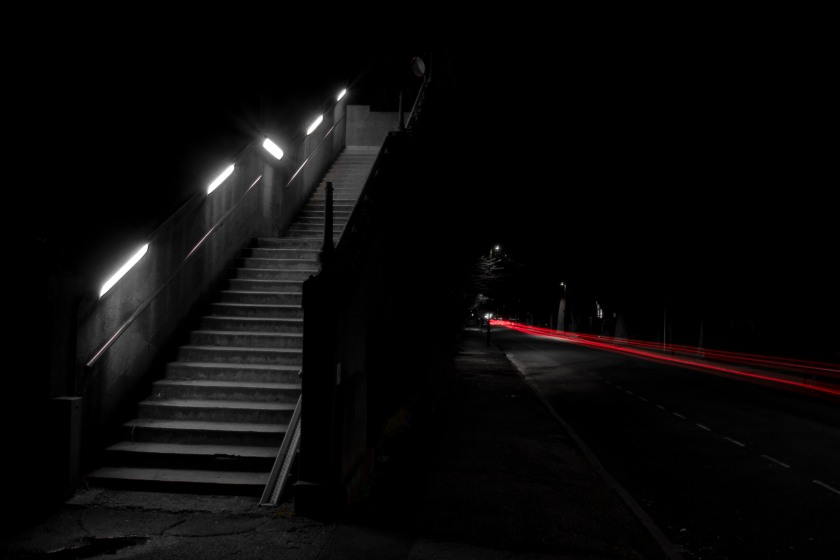


For my two outside location shootings (still life and cruel and tender) I had to take the following health and safety precautions into account:

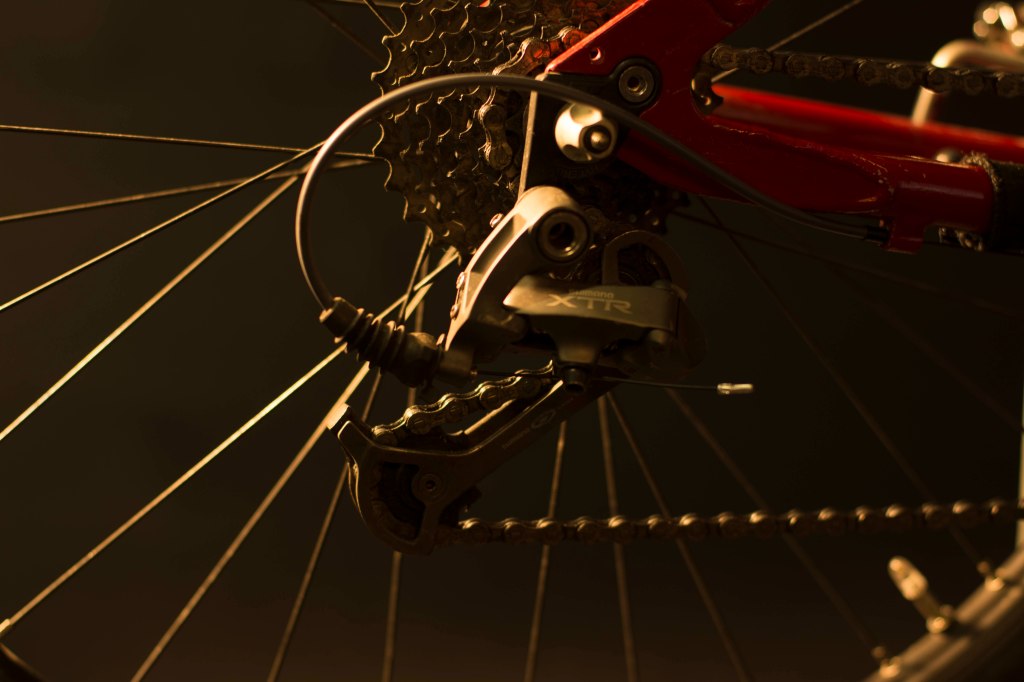
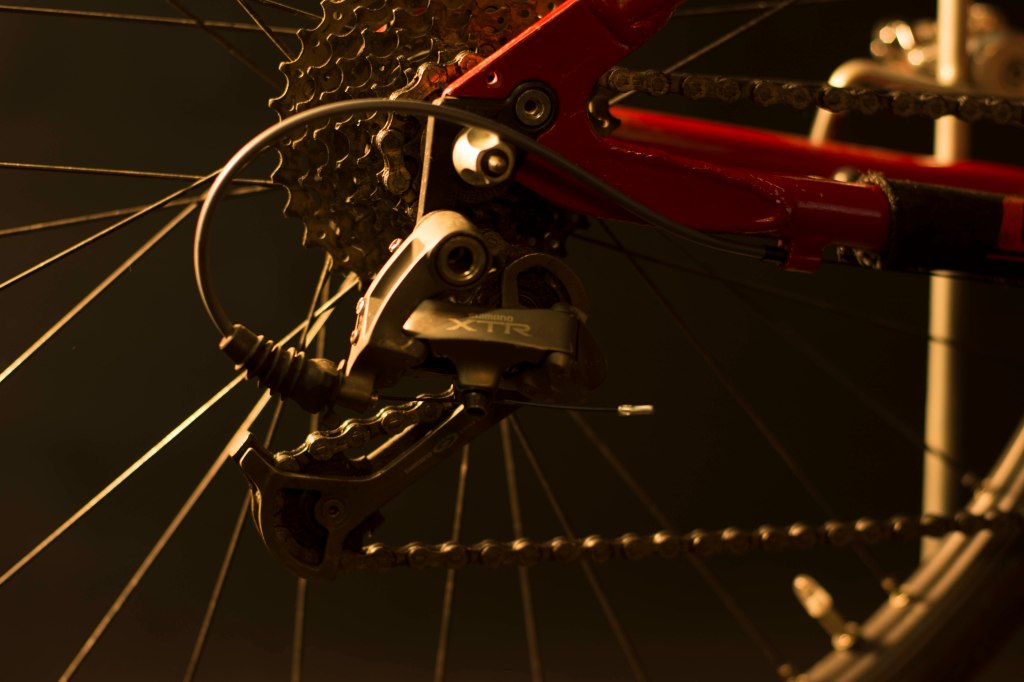
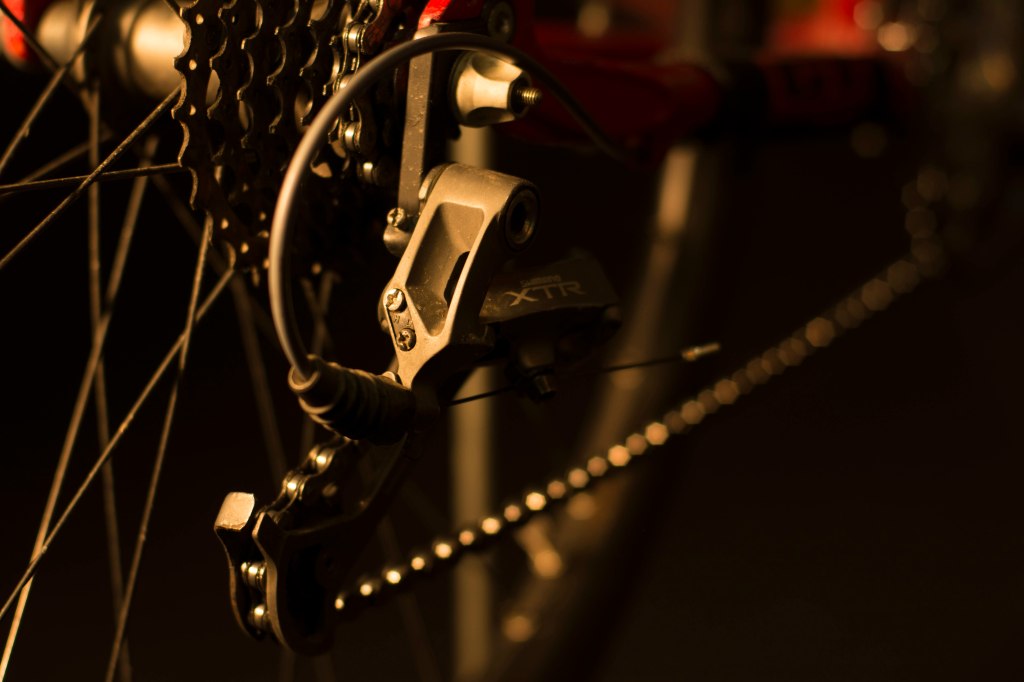
For my bike shoot I had to get to the location safely by bike. The place is undernaeth the Wateroo Station, I live in Kew myself. Public transport was ruled out because it either forbids the transport of a bike or excludes it exclusively during rush hour. So I cycled through the streets of London as gently as possible. Although sometimes it is a challenge as a cyclist. The lights on the bike, a helmet in warning color with LED lamps at the front and rear and a high visible jacket at least were advantageous for the purpose of being recognizable.
Here I also had to take precautions so that all equipment was transported safely. For the bike as the object being photographed I needed a bike stand, for my camera I carried several interchangeable lenses for testing, a large LED flashlight, two flash units and the necessary tripod. I put them in separate bags and gently put everything in a backpack that was just big enough so that the equipment was not damaged during transport during the ride.
Since the shooting took place in winter when the season was cold (2 ° C outside temperature), I had to make sure that I was dressed warm enough and that I had additional clothing to change, and on the other hand to check beforehand whether the batteries were full and the camera itself was designed to operate under this temperature.
Since the weather in England does not always appear to be gentle on the material due to frequent rain, I selected a day during the week beforehand which was likely to remain dry.
I wanted to place my bike in the middle of the tunnel. In order to avoid too much traffic, I therefore planned the shooting during the week and tried to start at the location before visitors and tourists headed for or through the tunnel more frequently. At 9 A.M. very few visitors were lost there, but there were security guards, cleaning staff and people who run their daily business. The initially random passers-by did not have a negative impact on the scenery, but I stopped the recordings around 10:30 A.M., because the crowed ultimately became too large.
In order to prevent possible damage to property and possible theft of equipment, I had to pay particular attention to this. So that the bike and the tripod with camera were better visible to passers-by, I looked for a slightly brighter place in the tunnel. In addition, I mostly stayed right there to warn people before they might hit the bike while they were gazing at the graffiti or taking photos. I stowed the unnecessary equipment in the backpack as best I could and put it aside not far from the location of the recordings so that a possible targeted approach would have been noticed by me.
Since the shooting was planned a little longer, I brought enough drinks and some fruit with me.
Many of the health and safety precautions for the still life shooting in London also apply to this outside photo project, only a few more were added.
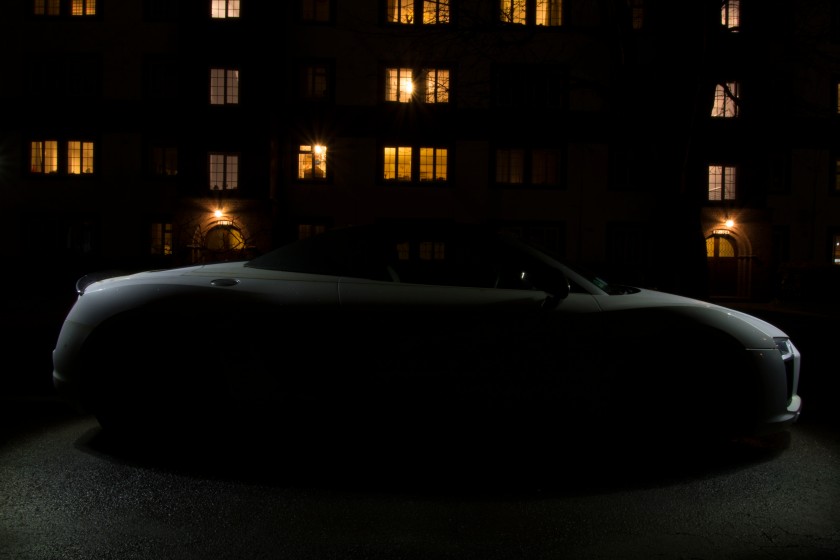
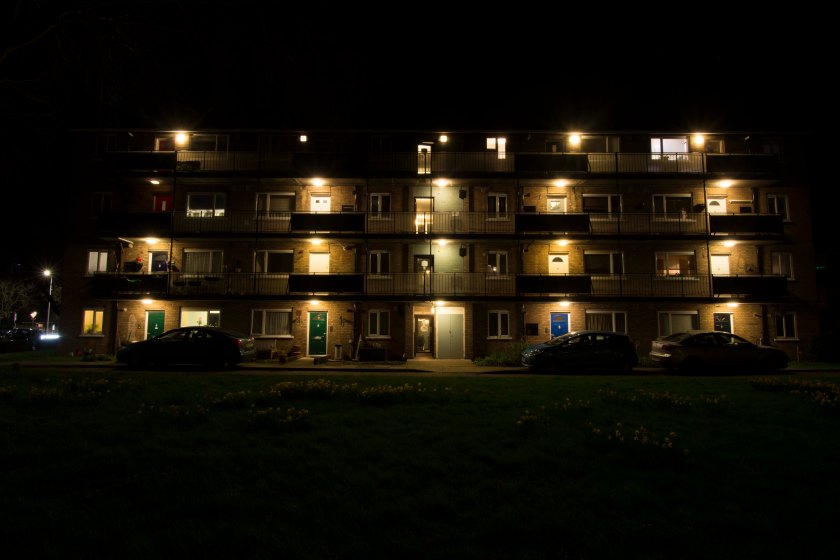
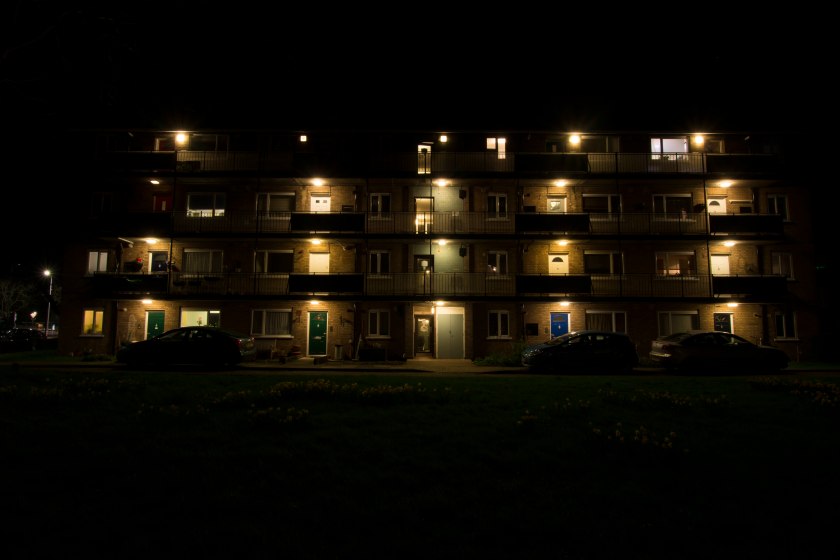
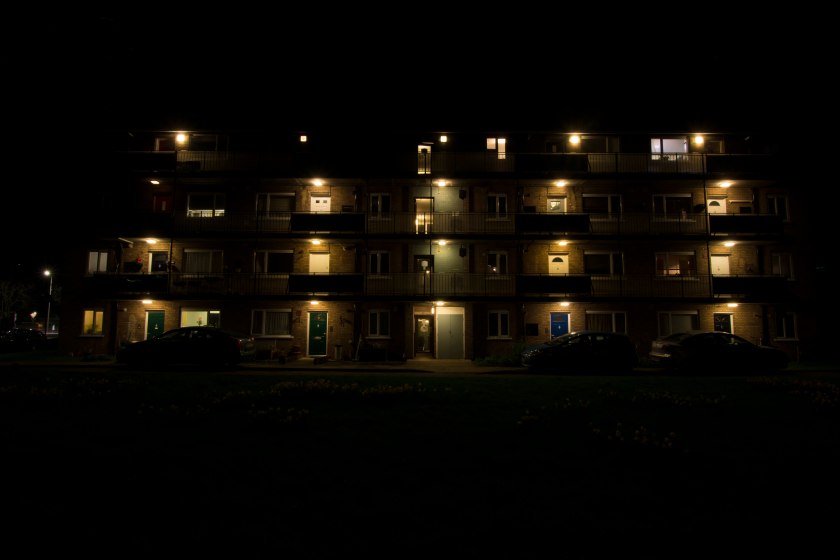
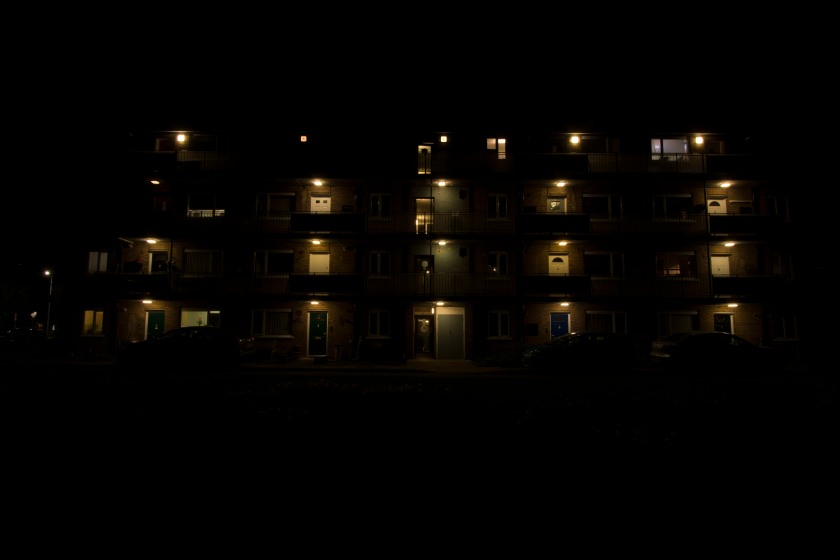
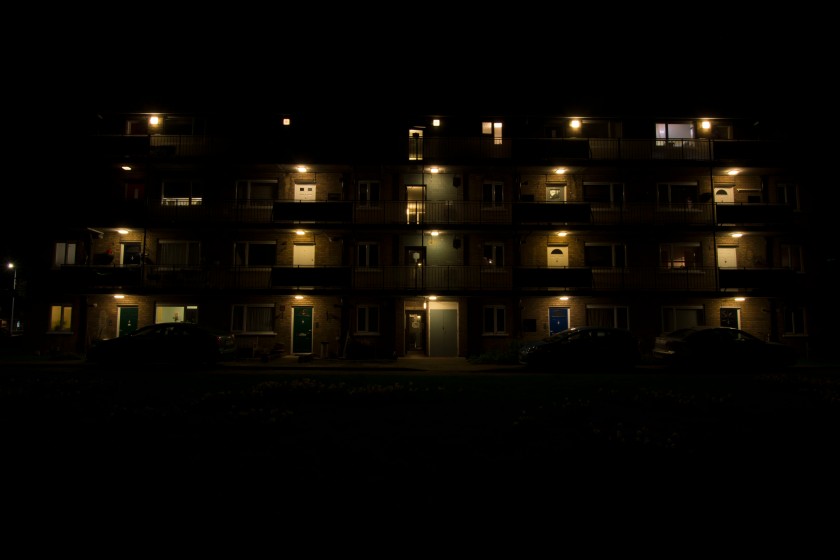
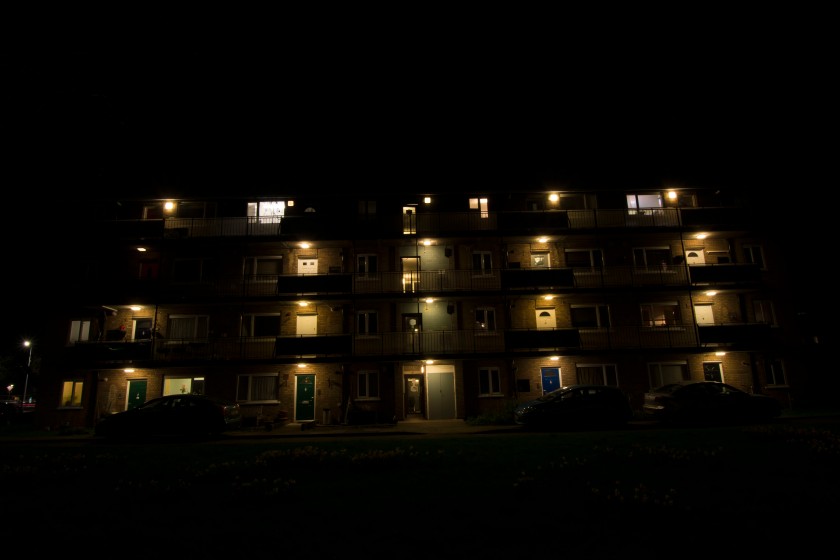
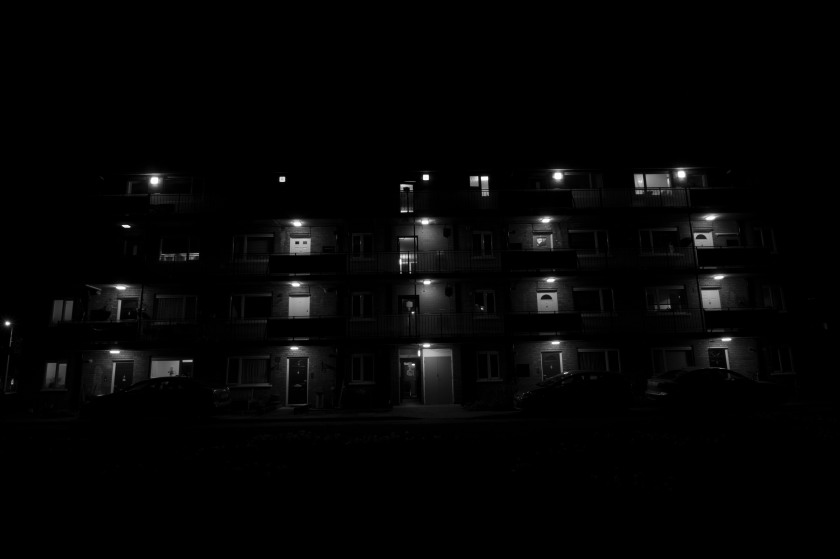
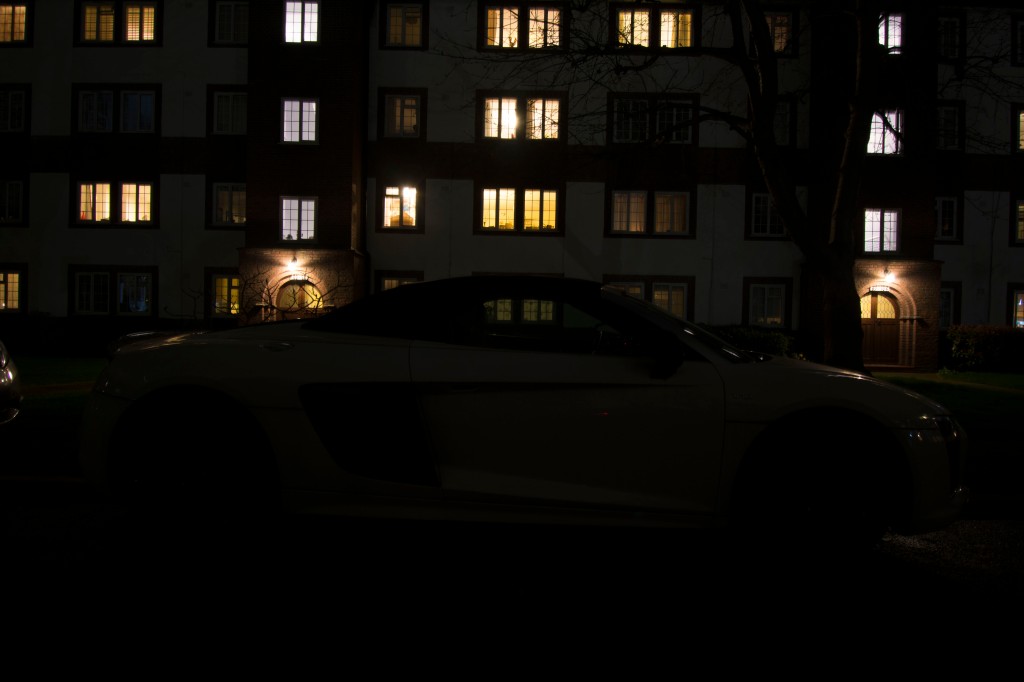
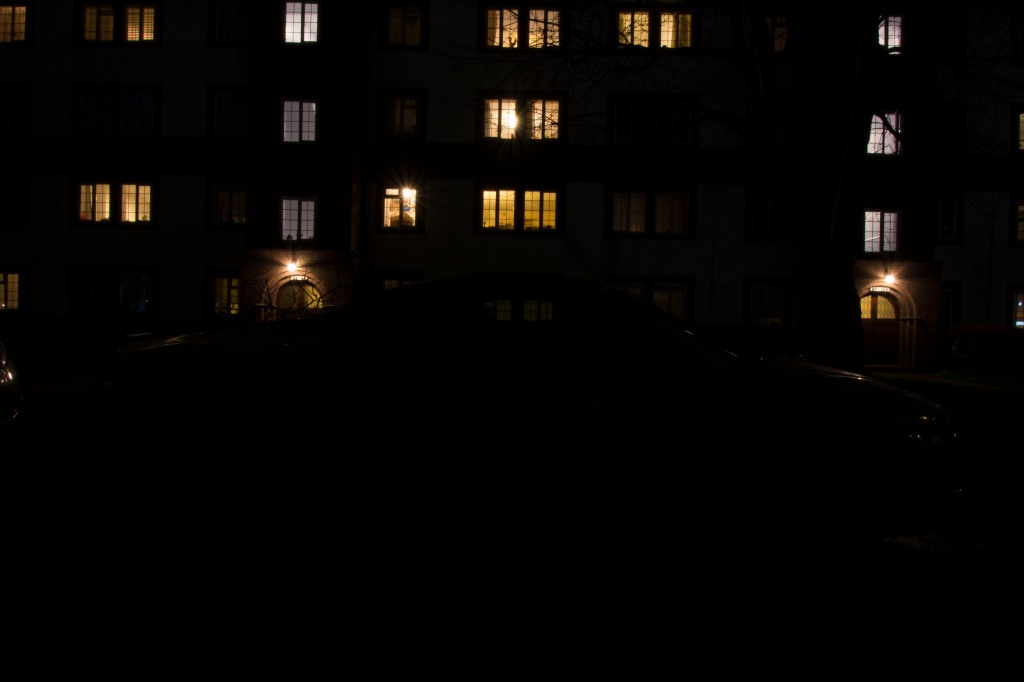
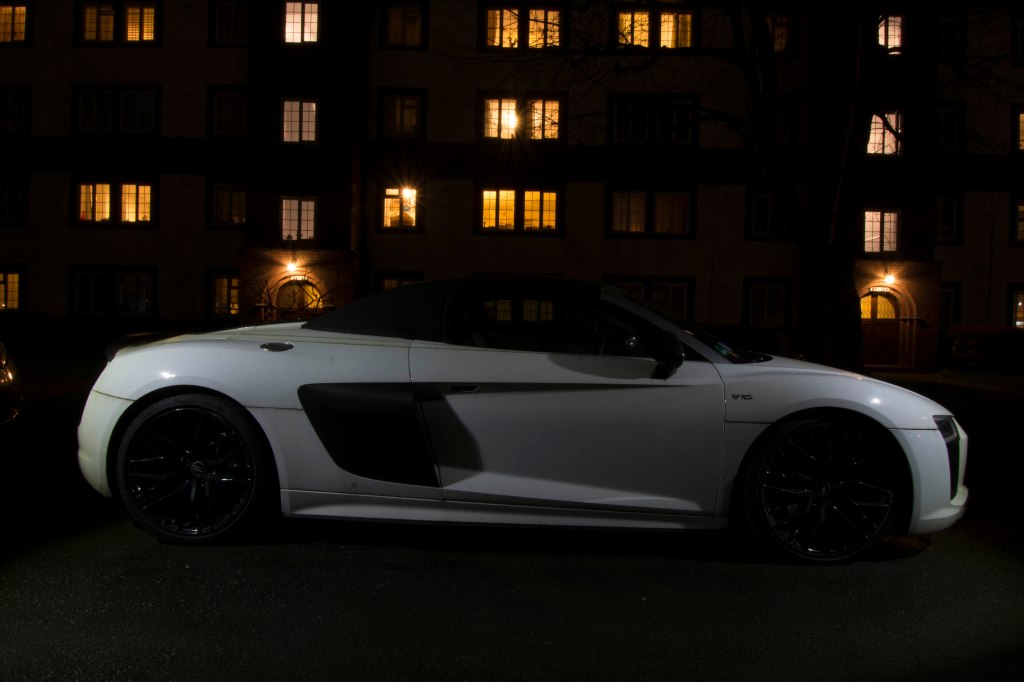
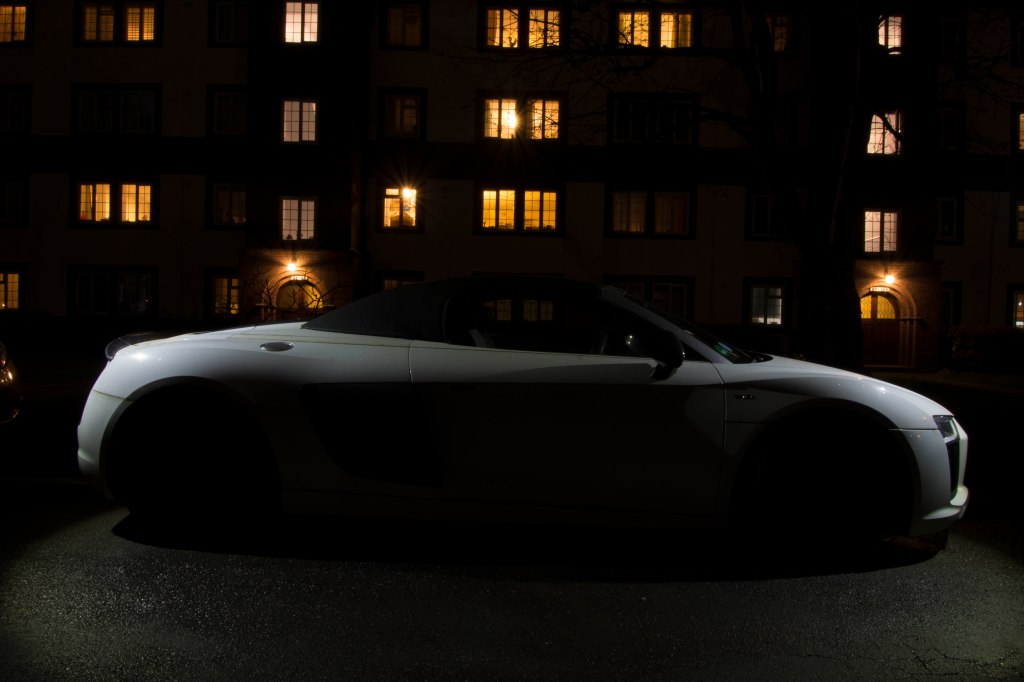
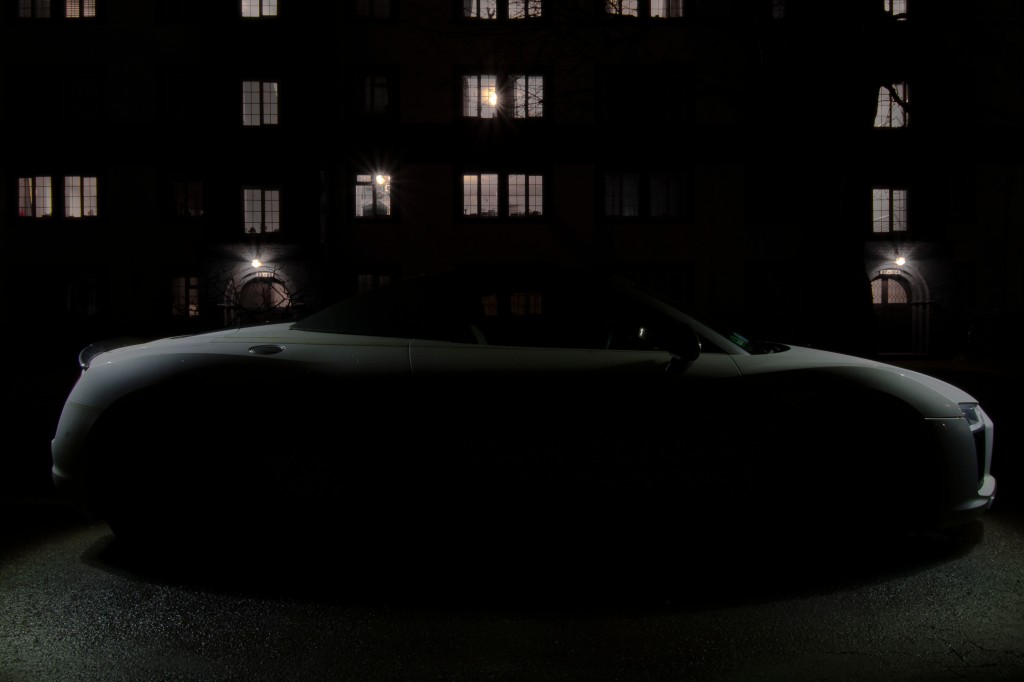
In order to be more recognizable to others, I also carried blinking LED armbands in addition wearing a high visible jacket. This was also especially helpful when I took the photos in front of the apartment block. In doing so, I also wanted to clear up any doubts from local residents that my photography was intended only to focus on the building with its lighting and not to violate in any sence the privacy of people living inside.
For the pictures with the car in front of the apartment block, I had to place the tripod on the street. Since it was a residential park, there was no through traffic. However, I had to interrupt a recording once because a vehicle just had to drive past it.
As a matter of my own protection, I had our dog accompanying on the leash.